Bathroom Moisture After Renovation: Why Mould Can Come Back
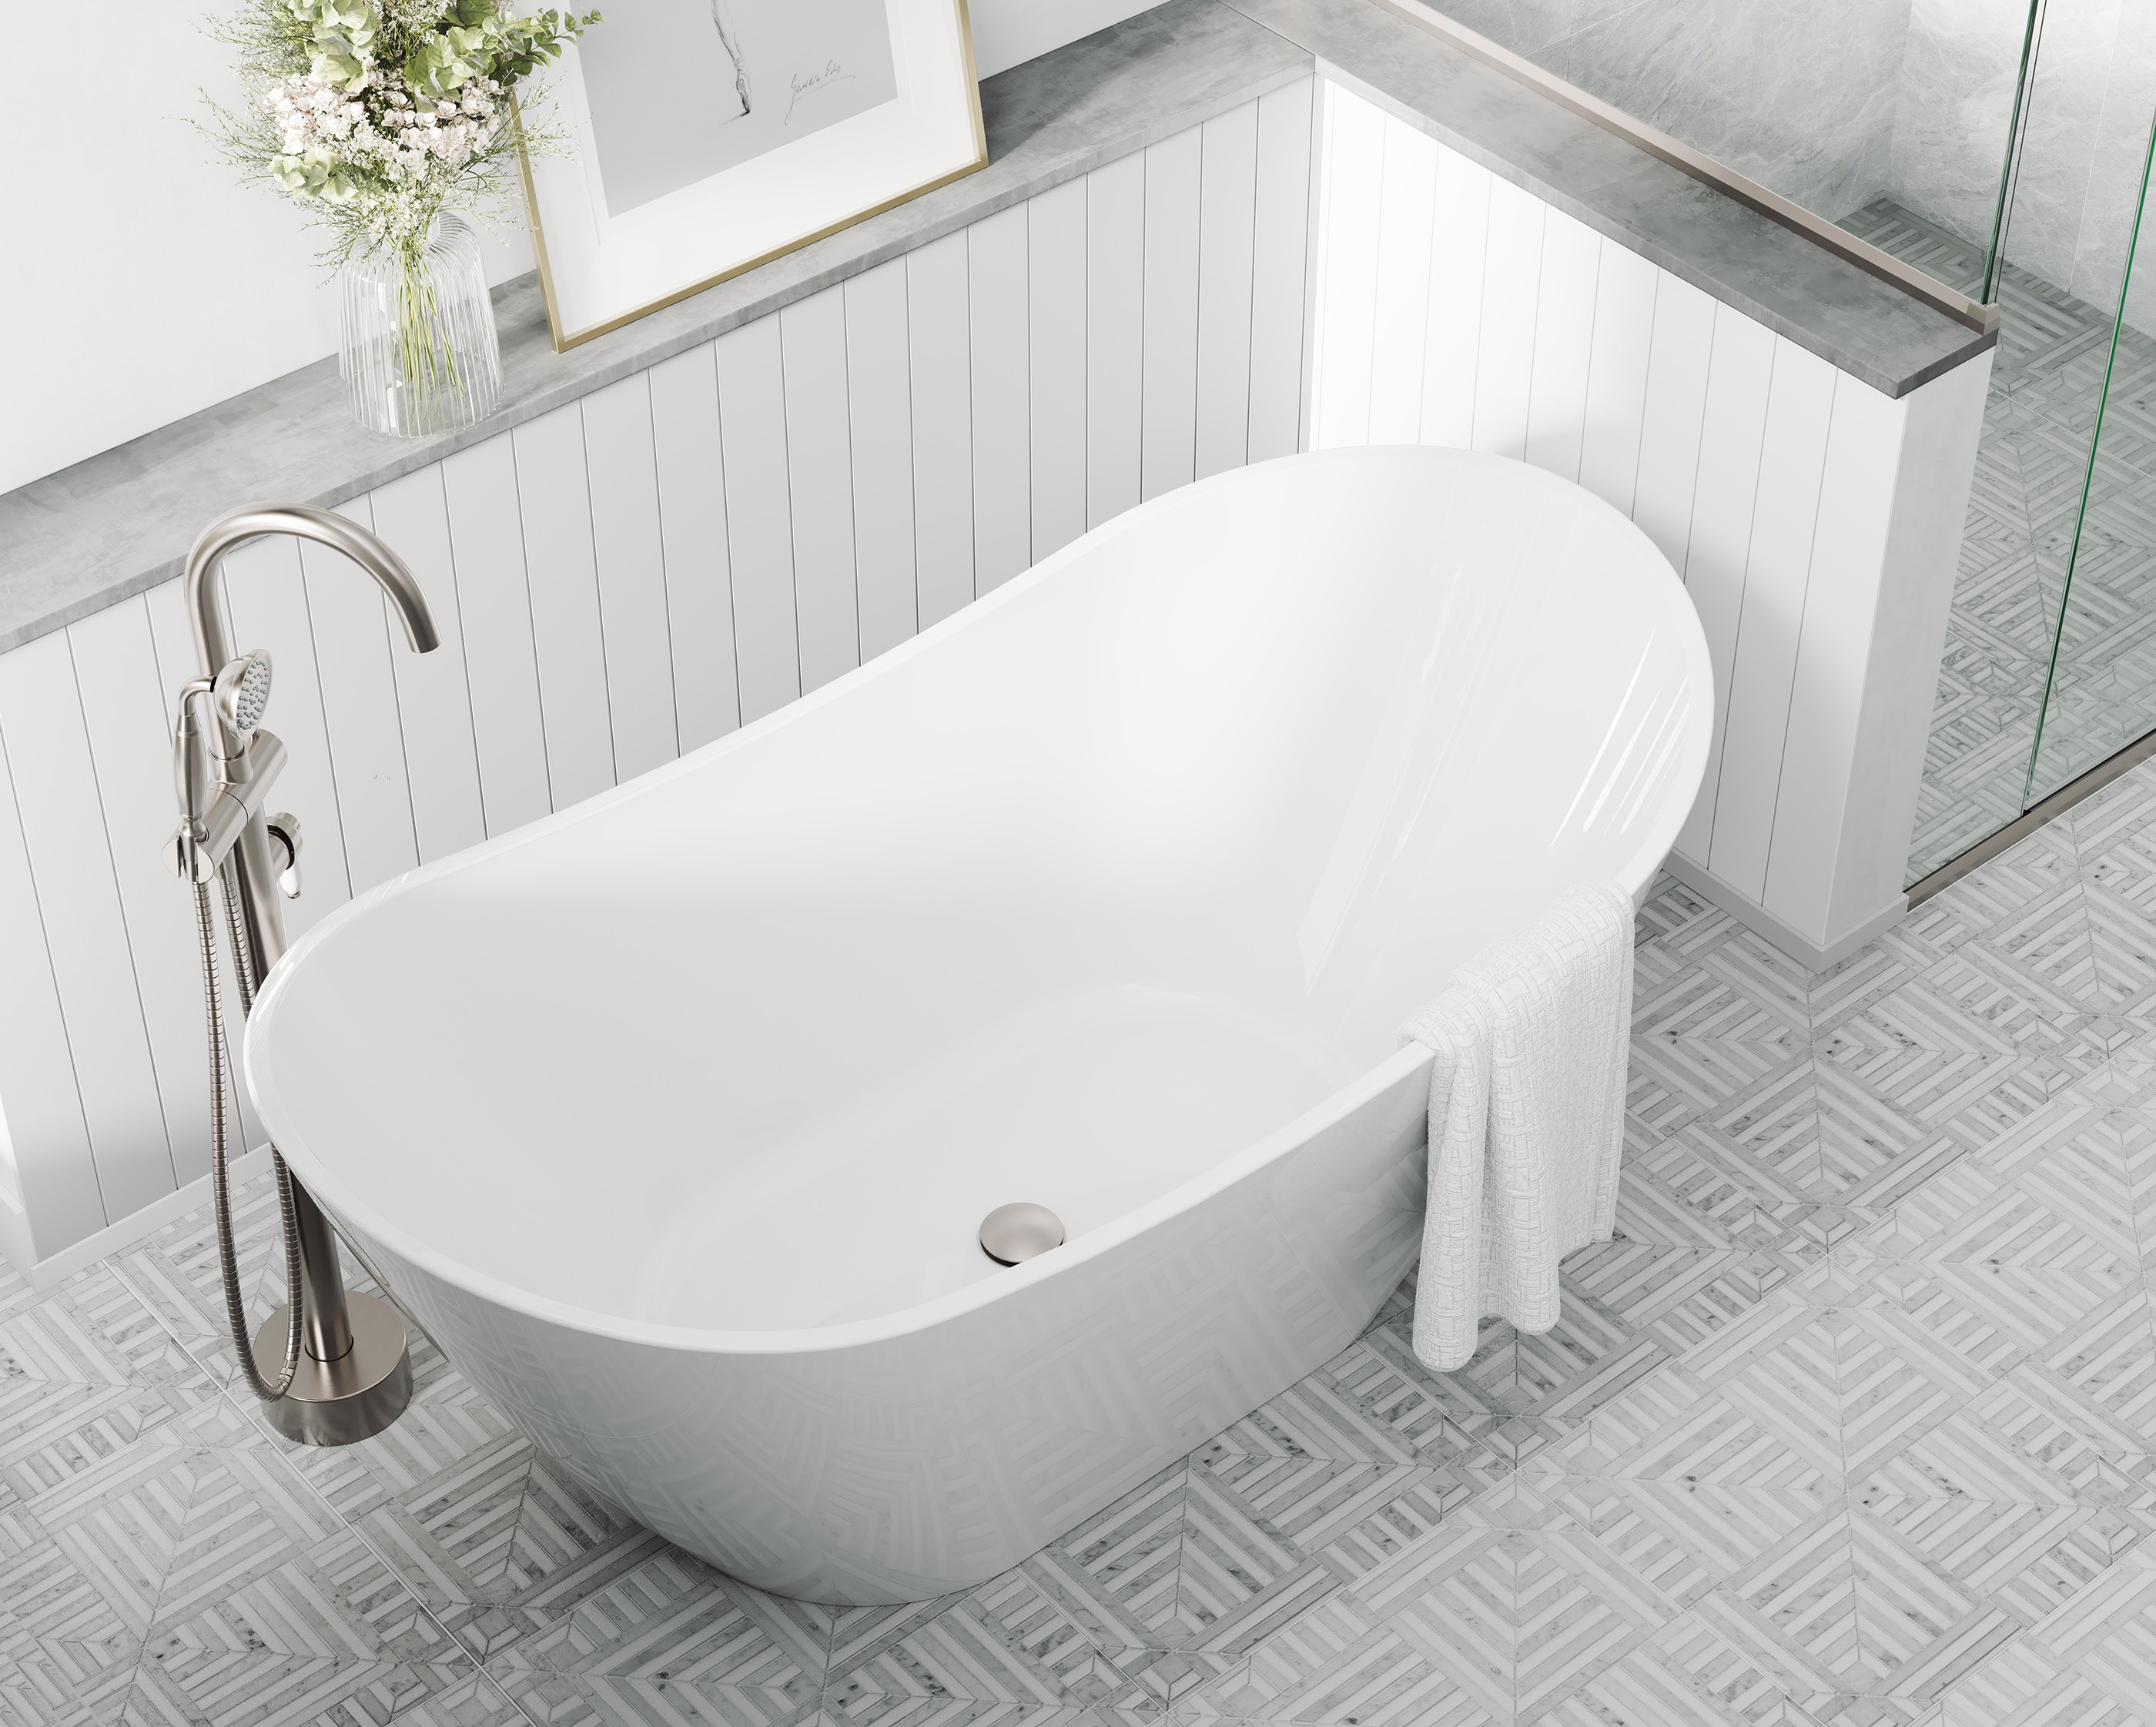
A newly renovated bathroom can look dry, bright and completely transformed.
New tiles.
Fresh paint.
A new vanity.
Clear shower glass.
A modern extractor fan.
And yet, several months later, condensation begins appearing on the mirror. The ceiling stays damp after showers. Black spots return around silicone joints or window reveals. A vanity edge starts to swell. The room develops the same musty smell that existed before the renovation.
When that happens, it is tempting to blame the new finishes.
But the underlying problem may never have been the finishes.
Renovation can replace the visible signs of moisture without changing the conditions that created the moisture problem in the first place.
Bathroom mould is rarely caused by one product alone. It is usually the visible result of several things working badly together:
high moisture generation;
insufficient extraction;
poor replacement air;
cold surfaces;
weak heating;
thermal bridging;
slow drying;
hidden leaks;
moisture-sensitive materials;
poor maintenance.
That is why a renovated bathroom can still become damp.
The New Zealand Data Is Hard to Ignore
Recent New Zealand housing research shows that moisture remains a widespread problem.
BRANZ’s latest Household Energy End-use Project 2, or HEEP2, monitored more than 300 owner-occupied homes across New Zealand. Its 2026 moisture findings reported:
48% of homes had visible mould;
32% reported damp;
75% experienced condensation during winter;
only 52% had both working kitchen and bathroom extract ventilation vented to the outside;
23% of households never opened a bathroom window during or after showering or bathing.
Those figures are not specifically a “renovated bathroom” statistic.
But they show why replacing finishes alone is not enough.
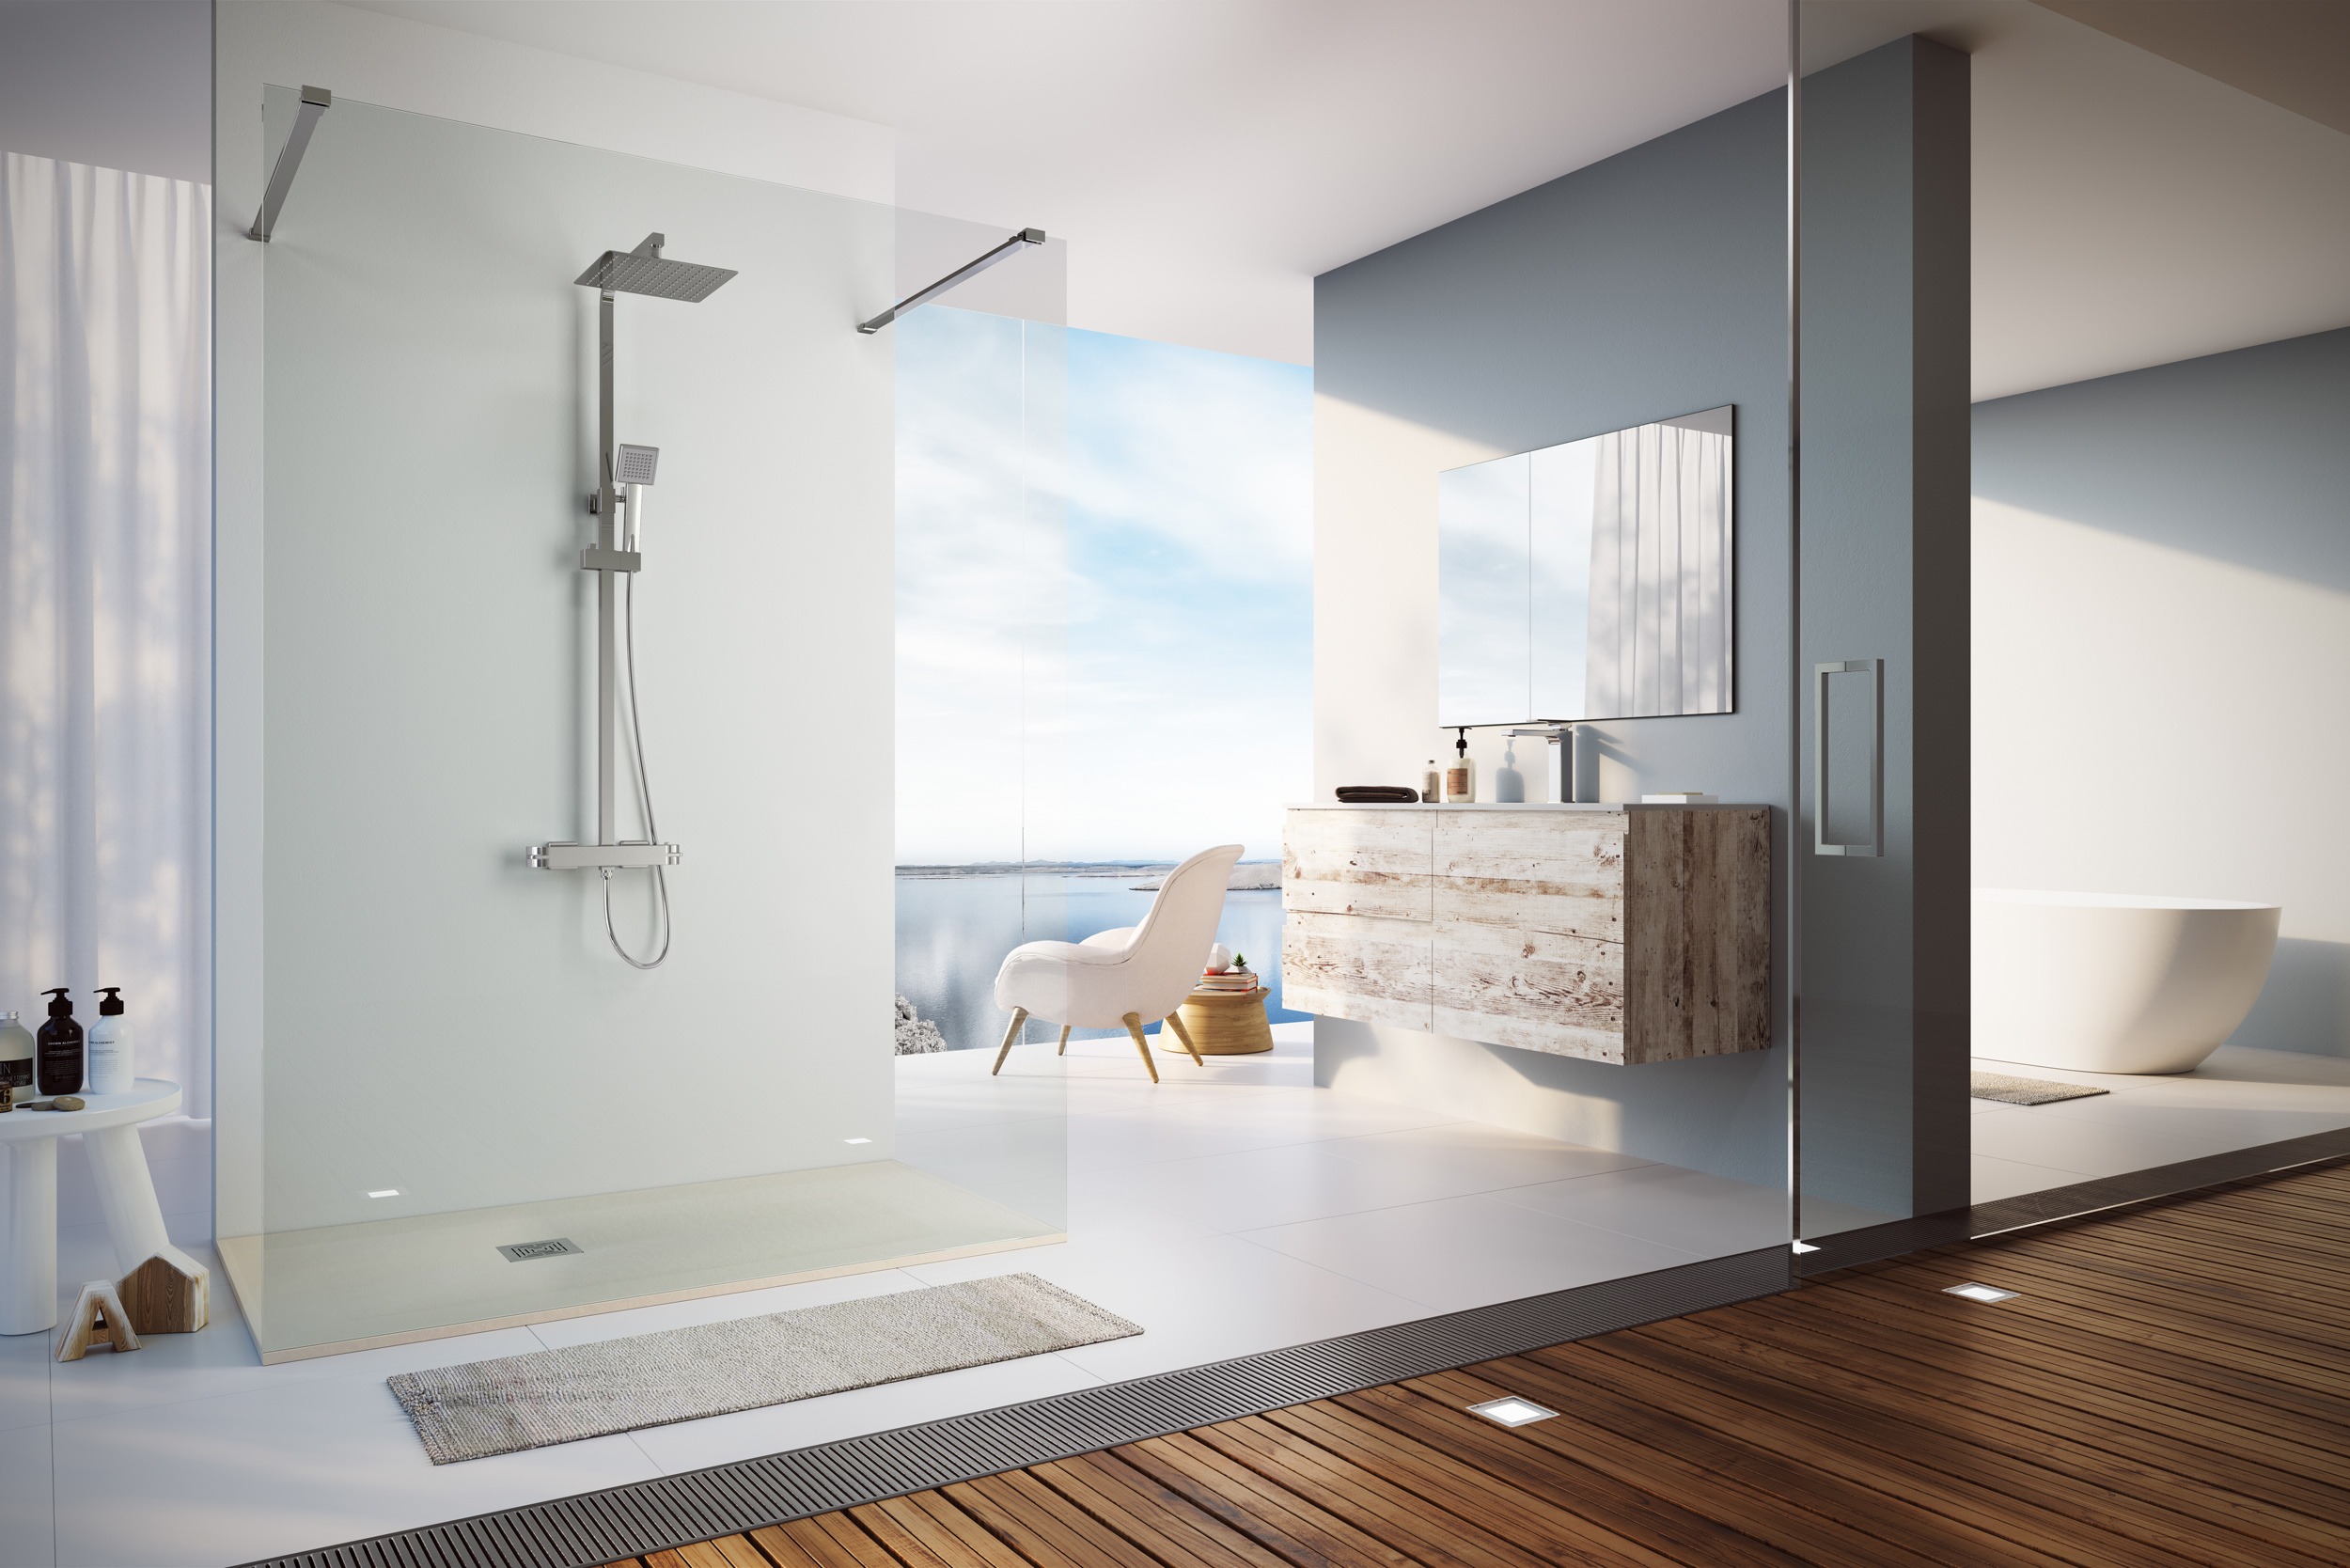
New bathrooms still exist inside New Zealand homes that must manage:
winter humidity;
cold surfaces;
moisture from showering;
variable heating;
ventilation habits;
building-envelope performance.
BRANZ’s conclusion is especially useful:
moisture problems are best understood as a building-performance issue involving ventilation, heating and the building envelope rather than a single isolated defect.
1. A Bathroom Renovation Does Not Remove the Moisture Load
A typical bathroom renovation may replace:
wall linings;
tiles;
paint;
vanity;
mirror;
shower;
bath;
fittings.
But after the renovation, people still:
shower;
bathe;
wash;
dry towels;
run hot water;
leave wet surfaces behind.
The amount of moisture generated by the household may not have changed at all.
BRANZ identifies showering, bathing, cooking, washing, indoor clothes drying and even normal human respiration as major sources of indoor moisture.
The renovation may make the room easier to clean and dry.
But if the new design does not remove moisture effectively, the room can return to the same conditions that allowed mould to develop before.
2. Mould Is Usually a Symptom, Not the Root Cause
Visible mould tells you that the surface environment has supported fungal growth.
It does not automatically tell you why.
Possible causes include:
sustained high humidity;
condensation on cold surfaces;
poor air movement;
inadequate mechanical extraction;
hidden water leaks;
insufficient heating;
poorly insulated surfaces;
thermal bridging;
moisture entering wall or ceiling cavities;
water remaining around seals or joints.
This distinction matters because different causes need different solutions.
Replacing silicone may temporarily remove visible mould.
Repainting the ceiling may make the bathroom look new.
Installing a stronger cleaning product may remove staining.
But none of these changes necessarily alters the moisture balance of the room.
A better question is:
Why is this surface remaining wet or humid long enough for mould to return?
3. Condensation Begins With Temperature
Warm air can hold more water vapour than cold air.
When warm, moisture-laden bathroom air meets a sufficiently cold surface, the air beside that surface cools. Its ability to hold water falls, and moisture can condense.
That is why condensation often appears first on:
mirrors;
windows;
aluminium frames;
exterior walls;
ceiling corners;
cold tile surfaces;
metal fittings.
BRANZ notes that condensation can:
create conditions for fungal growth;
steam up windows and mirrors;
deteriorate moisture-sensitive materials, fittings and fixtures.
This is why mould is not simply a “too much water” problem.
A bathroom can also struggle because its surfaces are too cold.
4. New Zealand Bathrooms Can Be Surprisingly Cold
BRANZ bathroom monitoring has shown how significant this can be.
In one study of New Zealand bathrooms:
the median bathroom temperature was about 16°C;
48% of households had a median bathroom temperature below 16°C;
19% were below 14°C;
more than half of participants had relative humidity above 65% for at least half of the monitored period;
10 homes, representing 16% of participants, combined particularly low bathroom temperatures of roughly 8–14°C with high median relative humidity of about 72–80%.
That combination matters.
A cold bathroom does not need extraordinary moisture production to experience condensation.
Normal shower steam can become a problem when walls, ceilings and windows remain cold.
This is why a renovated bathroom may still develop mould even after a new extractor fan is installed.
The room may be extracting some moisture while still allowing too much condensation to form on cold surfaces.
5. Ventilation Is a System, Not Just a Fan
One of the most common renovation responses to moisture is:
“We installed a new extractor fan.”
That is useful—but it does not prove the ventilation system works well.
Actual extraction depends on:
fan capacity;
duct diameter;
duct length;
number of bends;
grille resistance;
exterior termination;
fan location;
air leakage around the door;
whether replacement air can enter;
how long the fan runs.
MBIE says active ventilation is essential in rooms where additional moisture is generated, including bathrooms, kitchens and laundries. It also advises that a typical bathroom or toilet may require around 25 litres per second of ventilation, with ducting kept as short as practical and sharp bends avoided.
Official guidance:
https://www.building.govt.nz/getting-started/smarter-homes-guides/air-quality-moisture-and-ventilation/active-ventilation
The important lesson is:
A fan rating on the box is not the same as airflow through the completed installation.
6. Fan Location Matters
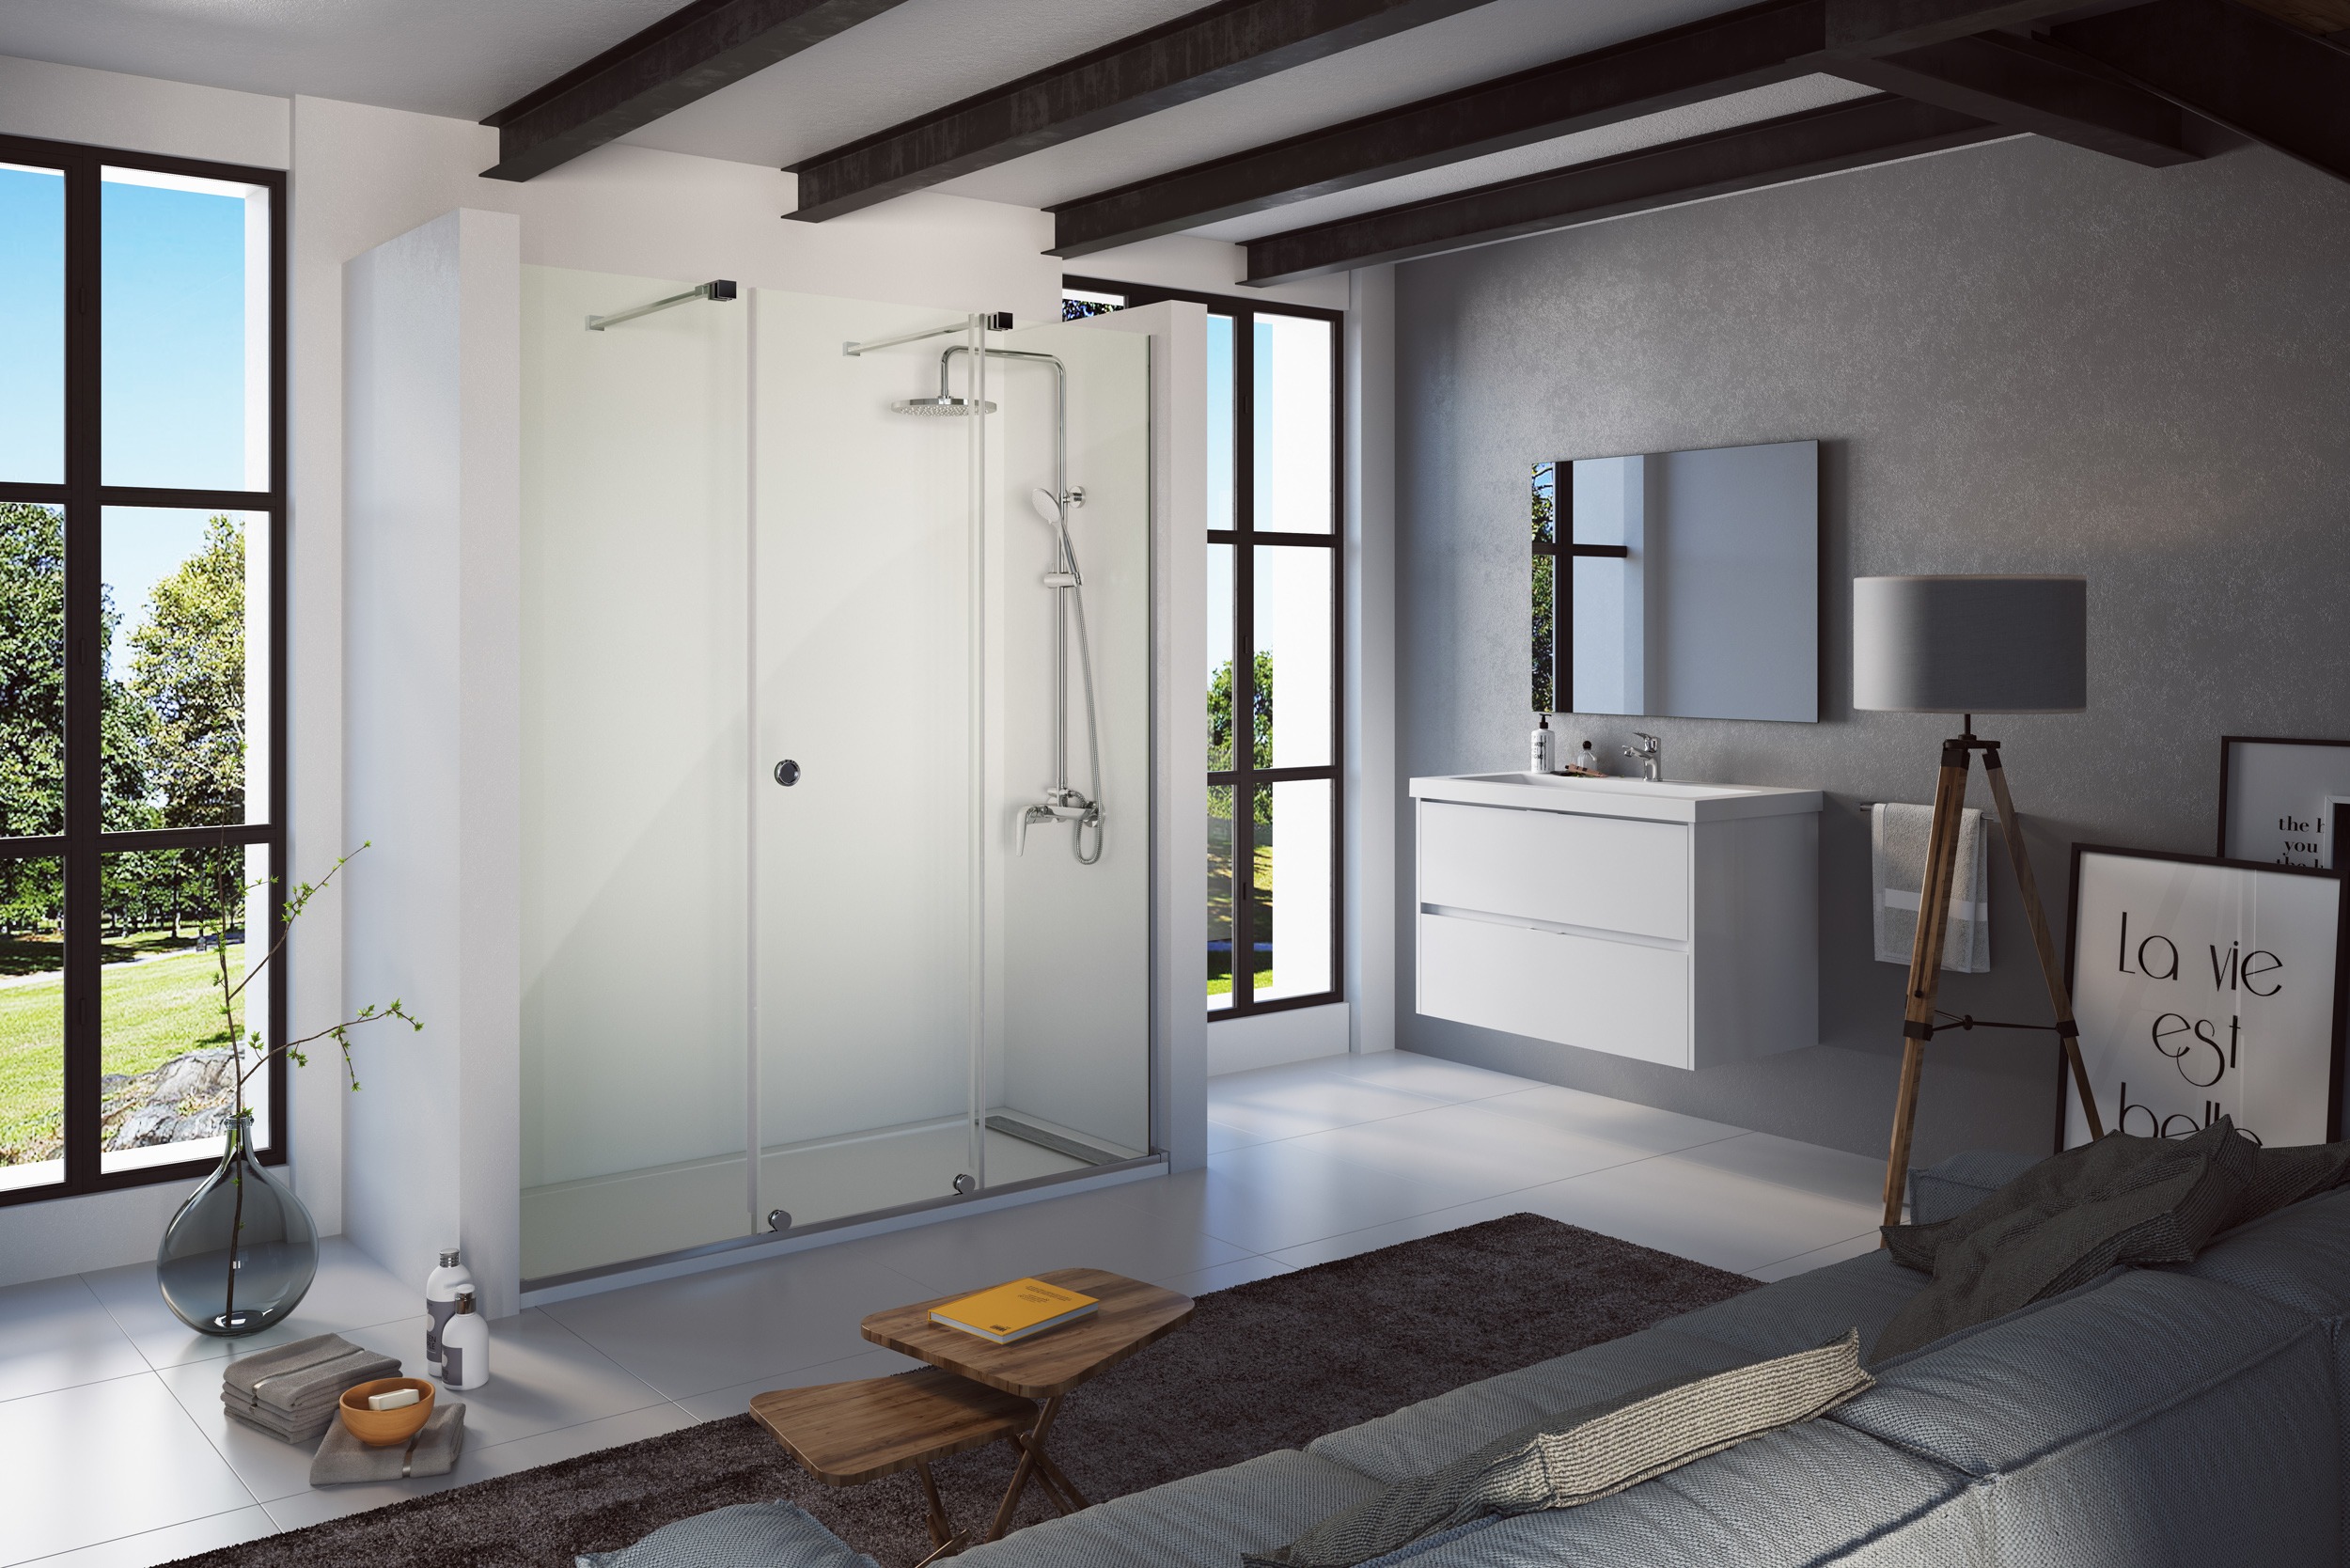
Moisture should ideally be removed close to where it is generated.
MBIE recommends placing extractor fans as close as possible to the moisture source.
Imagine two bathroom layouts.
Bathroom A
The shower is directly beneath or close to the extractor.
Steam enters the extraction zone quickly.
Bathroom B
The shower is at the opposite end of the bathroom.
The extractor sits near the doorway.
Moist air must travel across the room before reaching the fan.
During that journey, it may contact:
mirrors;
ceilings;
windows;
cabinetry;
cold external walls.
Both rooms may technically have an extractor.
They may not manage moisture equally well.
This is especially important during renovations where the shower is relocated but the existing fan position is retained.
7. Extraction Needs Replacement Air
An extractor fan removes air from the bathroom.
Something must replace it.
If the room is tightly sealed, the fan may struggle to move its rated volume of air.
MBIE notes that very airtight homes may need a slightly open window or another source of replacement air to allow extractor fans to work properly.
Replacement air may enter through:
door undercuts;
transfer grilles;
purpose-designed vents;
open windows;
adjacent spaces.
This creates an important renovation question:
Where will the replacement air come from when the bathroom door is closed?
A new door with tight seals may reduce unwanted draughts but also alter the airflow that an older extractor relied on.
The room must be considered as an air path, not only as a room containing a fan.
8. The Fan Must Exhaust Outside
This seems obvious, but it remains one of the most important checks.
MBIE states that extractor fans should vent to the outside. If moist bathroom air is discharged into the roof space, that moisture can affect insulation and roof structure.
During renovation, confirm:
where the duct starts;
where it terminates;
whether it is continuous;
whether joints are secure;
whether the external grille is blocked;
whether the duct has been crushed;
whether condensation inside the duct can drain appropriately.
A new ceiling grille does not guarantee a complete exhaust route.
9. Heating Is Part of Moisture Control
Ventilation removes moisture.
Heating changes the surface and air conditions that determine whether condensation forms.
BRANZ states that bathroom condensation can be managed using a combination of:
ventilation;
heating;
insulation.
This is important because some bathroom renovations improve appearance while leaving the room cold.
For example:
floor tiles replace warmer flooring;
an old heater is removed;
a towel rail is expected to heat the whole room;
exterior walls remain poorly insulated;
a large window remains thermally weak.
The room may look better while remaining vulnerable to condensation.
10. Heated Towel Rails Are Not Necessarily Room Heaters
A heated towel rail is useful for:
warming towels;
helping towels dry;
adding some local heat.
But it should not automatically be treated as the primary heat source for the bathroom.
Its output, size and purpose may not be sufficient to warm:
air volume;
walls;
ceiling;
windows;
other cold surfaces.
When planning the renovation, decide separately:
How will towels dry?
How will the bathroom itself be heated?
Those are related but not identical questions.
11. Underfloor Heating Helps Comfort, but It Does Not Replace Ventilation
Under-tile heating can make a bathroom feel significantly more comfortable.
It warms the floor and can contribute heat to the room.
But it does not remove water vapour.
If a shower introduces large amounts of moisture into the air, the bathroom still needs an effective way to remove it.
BRANZ specifically notes that underfloor tile heating provides a warm floor but does not necessarily heat the entire room space sufficiently by itself.
So avoid thinking in either/or terms:
heating or ventilation.
Good moisture management may require both.
12. Insulation and Thermal Bridging Can Still Matter After Renovation
A bathroom renovation usually focuses on the inside face of the room.
But surface temperature is affected by what lies behind that surface.
For example:
exterior-wall insulation;
ceiling insulation;
framing;
window performance;
thermal bridges;
roof conditions.
A freshly tiled exterior wall can still be colder than an internal wall.
A ceiling corner may remain cold where insulation coverage is poor.
A new aluminium window may still be one of the coldest surfaces in the room.
BRANZ’s recent HEEP2 findings reinforce that mould risk is not determined by moisture alone. Colder homes and cold surfaces increase local relative humidity and create more favourable conditions for mould growth.
This is why:
better extraction does not make building-envelope performance irrelevant.
13. Why the Mirror Fogs Up
Mirror fog is one of the most visible bathroom moisture indicators.
Warm shower air contains water vapour.
When that air reaches a cooler mirror surface, microscopic droplets form.
A demister pad can keep part of the mirror warm enough to resist fogging.
That improves usability.
But it is important to understand what a demister does not do.
It does not remove the moisture from the room.
If the mirror stays clear while:
the ceiling remains damp;
the window is dripping;
cabinet surfaces stay wet;
the underlying humidity still needs to be managed.
A clear mirror is not proof of a dry bathroom.
14. New Cabinetry Can Reveal Old Moisture Problems
Bathroom vanities are often replaced during renovation.
New cabinetry may be more moisture-resistant than the old unit, but it still needs suitable conditions.
Potential trouble areas include:
exposed panel edges;
cut-outs around plumbing;
floor-level plinths;
cabinet backs;
areas around basin joints;
gaps where water remains trapped;
poorly sealed penetrations.
If condensation frequently forms or a small leak remains hidden, engineered board can eventually:
swell;
distort;
delaminate;
discolour.
This is another reason maintenance access matters.
A small leak that can be seen early is very different from one that remains hidden behind a sealed cabinet back.
15. Mould Around Silicone Does Not Always Mean the Silicone Failed
Silicone joints are frequently blamed when mould appears.
Sometimes the sealant may indeed need replacement.
But mould at a silicone joint can also indicate that the area:
remains wet for long periods;
has poor airflow;
collects soap residue;
is difficult to clean;
is regularly exposed to condensation.
Replacing silicone may remove the visible problem temporarily.
If the environmental conditions do not change, mould can return.
When a joint repeatedly becomes mouldy, ask:
Does water drain away?
Does the surface dry?
Is the joint regularly cleaned?
Is the shower ventilated effectively?
Is condensation occurring elsewhere too?
16. Shower Design Can Affect Drying
Not all shower layouts dry equally well.
Consider:
enclosed shower vs walk-in shower;
door position;
glass height;
ceiling height;
fan position;
air movement;
niches;
ledges;
channel drains;
silicone junctions.
A highly enclosed shower can contain steam while it is being used, but surfaces inside may stay damp for longer.
An open walk-in shower may dry more quickly in some circumstances, but can release more moisture into the wider room.
Neither design is automatically superior.
The real question is:
How will moisture leave this particular shower and bathroom after use?
17. Open Ensuite Bathrooms Need Extra Thought
Modern ensuite layouts sometimes reduce separation between:
bathroom;
bedroom;
walk-in wardrobe.
This can look spacious and luxurious.
It can also allow humid air to migrate into:
clothing storage;
carpet;
bedroom walls;
windows.
BRANZ specifically notes that open ensuites require good directional ventilation so high-humidity bathroom air does not migrate into bedrooms or wardrobes.
During planning, ask:
Does the extraction path pull moisture away from the bedroom?
Is there a door?
Where does replacement air enter?
Are wardrobe materials exposed to regular high humidity?
18. Hidden Leaks Must Be Ruled Out
Not every bathroom moisture problem is condensation.
Persistent localised dampness may indicate:
leaking mixer connections;
failed shower seals;
leaking waste;
loose basin fittings;
leaking toilet supply;
pipework inside the wall;
roof or window leakage.
Condensation usually has recognisable patterns.
Leaks may create:
one repeatedly wet location;
cabinet swelling;
staining;
soft wall lining;
persistent odour;
moisture even when the bathroom has not recently been used.
A renovation should not cover over unexplained dampness.
The source should be identified first.
19. Representative Scenario: New Bathroom, Same Mouldy Ceiling
A homeowner renovates a bathroom that previously had mould on the ceiling.
The renovation includes:
new ceiling paint;
new shower;
new vanity;
new tiles;
new mirror.
The existing extractor is retained because it still operates.
Six months later, small black patches appear again above the shower.
What went wrong?
The renovation removed the mould.
It did not change:
fan capacity;
duct route;
fan position;
replacement air;
bathroom temperature;
ceiling surface temperature.
The visual problem was treated.
The moisture system was not.
Better planning
Before repainting, the renovation should have checked:
extractor performance;
outside discharge;
duct condition;
fan location;
ceiling insulation;
heating;
airflow after the door is closed.
20. Representative Scenario: The Vanity That Started Swelling
A new timber-look vanity is installed in a family bathroom.
After several months, the lower edge begins to swell.
There is no obvious plumbing leak.
The family showers twice each morning, closes the bathroom door and switches the extractor off with the light immediately after leaving.
Water remains on the tiled floor and condensation frequently appears on the vanity surface.
The cabinet problem is real.
But replacing the vanity alone may reproduce the same outcome.
Better planning
Investigate:
fan run time;
room drying time;
surface water;
heating;
extraction;
cabinet ventilation;
seal condition;
hidden leaks.
The product and environment must be considered together.
21. Renovation Mistakes That Can Allow Moisture Problems to Return
Keeping an inadequate old extractor
“It still turns on” does not mean it performs adequately.
Moving the shower without reconsidering fan position
The moisture source changed, but the extraction strategy did not.
Long, restrictive ducting
Every bend and restriction can reduce delivered airflow.
Venting into the roof space
Moisture has been moved, not removed from the building.
No replacement-air path
The fan operates against a tightly sealed room.
Removing bathroom heating
The renovated bathroom becomes colder even though it looks more modern.
Assuming floor heating solves humidity
It improves comfort but does not extract water vapour.
Ignoring insulation
Cold walls and ceilings remain vulnerable to condensation.
Relying on a mirror demister
A clear mirror does not mean the rest of the bathroom is dry.
Closing the fan off too early
Much of the moisture remains after the shower has finished.
Covering unexplained damp areas
New tiles or paint can conceal the symptoms without resolving the source.
22. A Bathroom Moisture Audit After Renovation
If a renovated bathroom is developing condensation or mould, check the system in this order.
Step 1 — Identify the moisture pattern
Is it:
whole-room condensation?
ceiling mould?
window condensation?
one damp cabinet?
shower-joint mould?
a local wall stain?
Pattern matters.
Step 2 — Confirm the extractor actually vents outside
Do not assume.
Trace or inspect the duct where practical.
Step 3 — Check fan location
Is it reasonably close to the shower or bath?
Step 4 — Check airflow path
Can replacement air enter when the bathroom door is closed?
Step 5 — Review ducting
Look for:
excessive length;
sharp bends;
crushed flexible duct;
blocked external grille.
Step 6 — Look at heating
Does the room remain cold for most of the day?
Step 7 — Check cold surfaces
Pay attention to:
external walls;
windows;
ceiling corners;
uninsulated areas.
Step 8 — Check drying behaviour
After a shower:
how long does the mirror stay wet?
how long does the glass stay wet?
does the ceiling remain damp?
are towels drying?
does the room smell musty?
Step 9 — Rule out leaks
Persistent local moisture needs investigation.
Step 10 — Review the renovation as one system
Do not assess the fan, heater, window and shower independently.
They interact.
23. Pre-Renovation Moisture Checklist
Before the next bathroom renovation is closed up, confirm:
Ventilation
□ Extractor fan selected for the room
□ Fan discharges outdoors
□ Duct route is known
□ Duct is reasonably short
□ Sharp bends are minimised
□ Fan is near the moisture source
□ Replacement-air path is considered
□ Fan controls allow useful run time
Heating
□ Bathroom heating strategy is defined
□ Heated towel rail is not assumed to heat the whole room
□ Underfloor heating role is understood
□ Cold periods have been considered
Building Envelope
□ Exterior-wall insulation considered
□ Ceiling insulation checked where accessible
□ Cold window surfaces considered
□ Existing condensation locations recorded
Shower and Bath
□ Steam path understood
□ Glass and ledges can dry
□ Drainage is effective
□ Niches do not hold water
□ Fan location works with the wet zone
Cabinetry
□ Cabinet material is suitable for bathroom use
□ Cut edges are protected as required
□ Plumbing leaks will be visible or accessible
□ Cabinet is not permanently sitting in surface water
Maintenance
□ Silicone joints can be cleaned
□ Shower waste is accessible
□ Extractor grille can be cleaned
□ External vent can be inspected
□ Hidden-service locations are recorded
24. What Should a Healthy Renovation Outcome Look Like?
The goal is not a bathroom that never contains moisture.
That is unrealistic.
Bathrooms are wet rooms.
The goal is a bathroom where moisture peaks during use and then falls again.
After showering:
steam should clear;
wet surfaces should begin drying;
condensation should not remain for excessive periods;
towels should dry;
cabinets should not remain damp;
mould should not repeatedly return.
BRANZ’s recent moisture research is useful because it shows the issue is not solved by one isolated intervention.
Homes perform best when:
ventilation, heating and building design work together.
That is the same principle that should guide a bathroom renovation.
Final Advice
If mould returns after a bathroom renovation, do not immediately assume the renovation has “failed”.
Instead, ask which part of the moisture system remains unresolved.
It could be:
extraction;
ducting;
replacement air;
heating;
insulation;
surface temperature;
drying behaviour;
a hidden leak;
a combination of several factors.
The most important distinction is between:
removing mould
and
removing the conditions that allow mould to grow.
A new bathroom can replace damaged finishes.
A good renovation should go further.
It should improve how the room handles moisture every day.
The goal is not simply a bathroom that looks dry when it is finished. It is a bathroom that can repeatedly get wet, release that moisture and dry again without damaging itself.
Sources and Further Reading
BRANZ — What Mould Reveals About Building Performance
https://www.branz.co.nz/design-build/articles/what-mould-reveals-about-building-performance
BRANZ — Minimising Condensation Damage by Managing Temperature Control
https://www.branz.co.nz/design-build/articles/minimising-condensation-damage-by-managing-temperature-control
BRANZ — Managing Internal Moisture
https://www.branz.co.nz/design-build/articles/managing-internal-moisture
BRANZ — Indoor Climate and Mould in New Zealand Homes
https://www.branz.co.nz/design-build/publications/sr452-indoor-climate-and-mould-in-new-zealand-homes
MBIE — Active Ventilation
https://www.building.govt.nz/getting-started/smarter-homes-guides/air-quality-moisture-and-ventilation/active-ventilation