How to Plan a Bathroom Renovation in New Zealand Before You Buy Anything
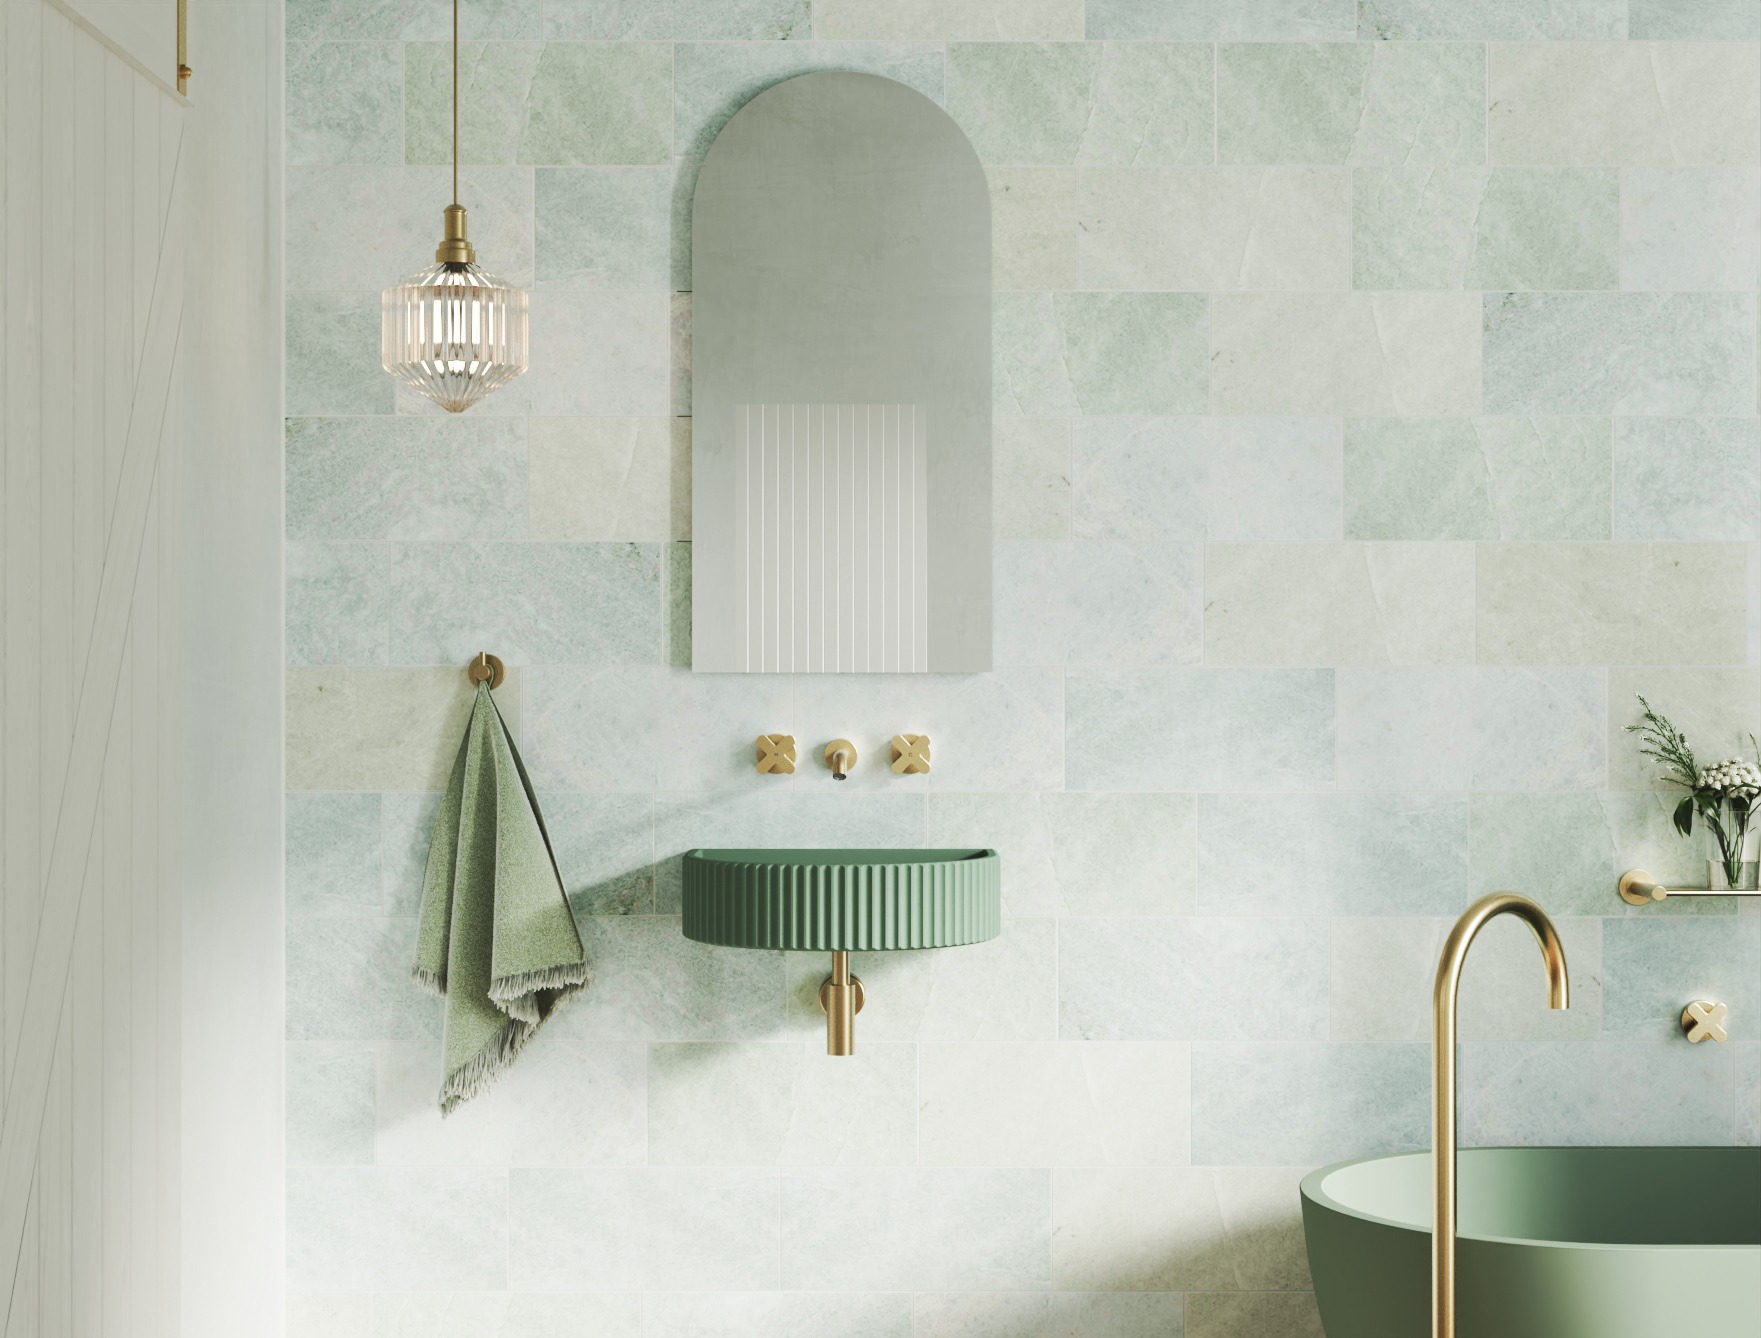
A bathroom renovation often starts with products.
Homeowners begin by saving photos of vanities, comparing tap finishes, choosing tiles, or deciding whether they want a walk-in shower or freestanding bath.
Those choices matter, but they are rarely the best place to start.
A bathroom is a compact room in which plumbing, drainage, waterproofing, ventilation, electricity, cabinetry, storage and human movement all compete for the same space. A product can look perfect online and still create problems once it meets the actual room.
The better starting point is not:
“Which vanity do I like?”
It is:
“What does this room need to do, where are its services, and what must be resolved before any product is ordered?”
That change in thinking can prevent some of the most frustrating renovation problems: a vanity that conflicts with the waste position, a mixer that does not suit the basin, a mirror cabinet that projects too far, a shower door that enters the main circulation route, or electrical points that were never coordinated with the final fittings.
This guide explains how to plan a New Zealand bathroom renovation in the right order—before the room is filled with product decisions.
The Key Principle
A bathroom is not a collection of independent products.
It is a system.
The vanity affects the basin.
The basin affects the mixer.
The mixer affects splash and user position.
The vanity affects plumbing access.
The mirror affects lighting and electrical planning.
The shower affects waterproofing and ventilation.
The toilet affects circulation and drainage.
The location of every fixture affects the installation sequence.
That is why the most useful bathroom decisions are often made before anything is purchased.
1. Start With the Existing Room
Before deciding what the new bathroom should contain, document what is already there.
Measure and photograph:
overall room width and length;
ceiling height;
door width and swing;
window position and opening direction;
wall thickness where known;
existing vanity location;
toilet position;
shower or bath location;
floor waste positions;
visible water-supply points;
electrical outlets;
switches;
extractor fan position;
heated towel rail position;
floor level changes;
wall projections or boxed pipework.
Do not rely only on a real-estate floor plan.
For product planning, a difference of 20 or 30 mm can matter.
A vanity drawer may collide with a door architrave. A mirror cabinet may overlap a light fitting. A shower panel may leave too little room for the toilet. A wall that looks straight may not be square enough for a tight installation.
Take actual site measurements.
Photograph the room before demolition
Photographs become surprisingly valuable later.
Capture:
pipe-entry positions;
electrical locations;
wall junctions;
existing wastes;
under-vanity plumbing;
access panels;
ventilation ducting where visible.
Once walls are opened, take another set of photographs before they are closed again.
These images can help future installers understand where hidden services run.

2. Decide What Is Staying and What Is Moving
One of the biggest differences in renovation complexity is whether fixtures remain approximately where they are or whether the room is being replanned.
Ask separately about:
toilet;
vanity;
shower;
bath;
basin;
water supplies;
wastes;
electrical points.
Moving a vanity is not the same as changing the vanity.
Replacing a shower is not the same as moving its waste.
Changing a toilet is not the same as relocating the toilet pan.
In New Zealand, some alterations to existing sanitary plumbing may be exempt from Building Consent when the total number of sanitary fixtures is not increased and the work does not modify or affect a specified system. MBIE also states that plumbing work carried out under this exemption must be done by an authorised person.
That means you should not assume:
“It is only an existing bathroom, therefore no consent is involved.”
The correct answer depends on the scope of work and the building.
3. Understand Which Changes Create Complexity
The expensive part of a bathroom renovation is not always the expensive-looking product.
Complexity often comes from the hidden work required to make the product fit.
Moving a toilet
A toilet relocation can affect:
pan connection;
waste fall;
floor structure;
pipe route;
wall or floor penetrations.
Changing a floor-entry vanity waste
A new drawer vanity may have a very different internal plumbing zone from the old cabinet.
The waste may need to move into the wall, move sideways, or pass through a drawer cut-out.
Converting a bath area into a walk-in shower
This may affect:
drainage;
floor falls;
waterproofing;
shower screening;
ventilation;
wall linings;
water controls.
Installing an illuminated mirror or mirror cabinet
This can introduce:
new electrical supply;
LED driver location;
demister power;
switch or sensor planning;
removal and service access.
Adding a freestanding bath
The room needs more than enough floor area for the bath itself.
You also need to consider:
bath mixer location;
cleaning access around the bath;
waste connection;
future service access;
route into the room.
A useful renovation question is:
What must change behind the finished surfaces in order for this visible product to work?
4. Plan the Bathroom Around Real Movement
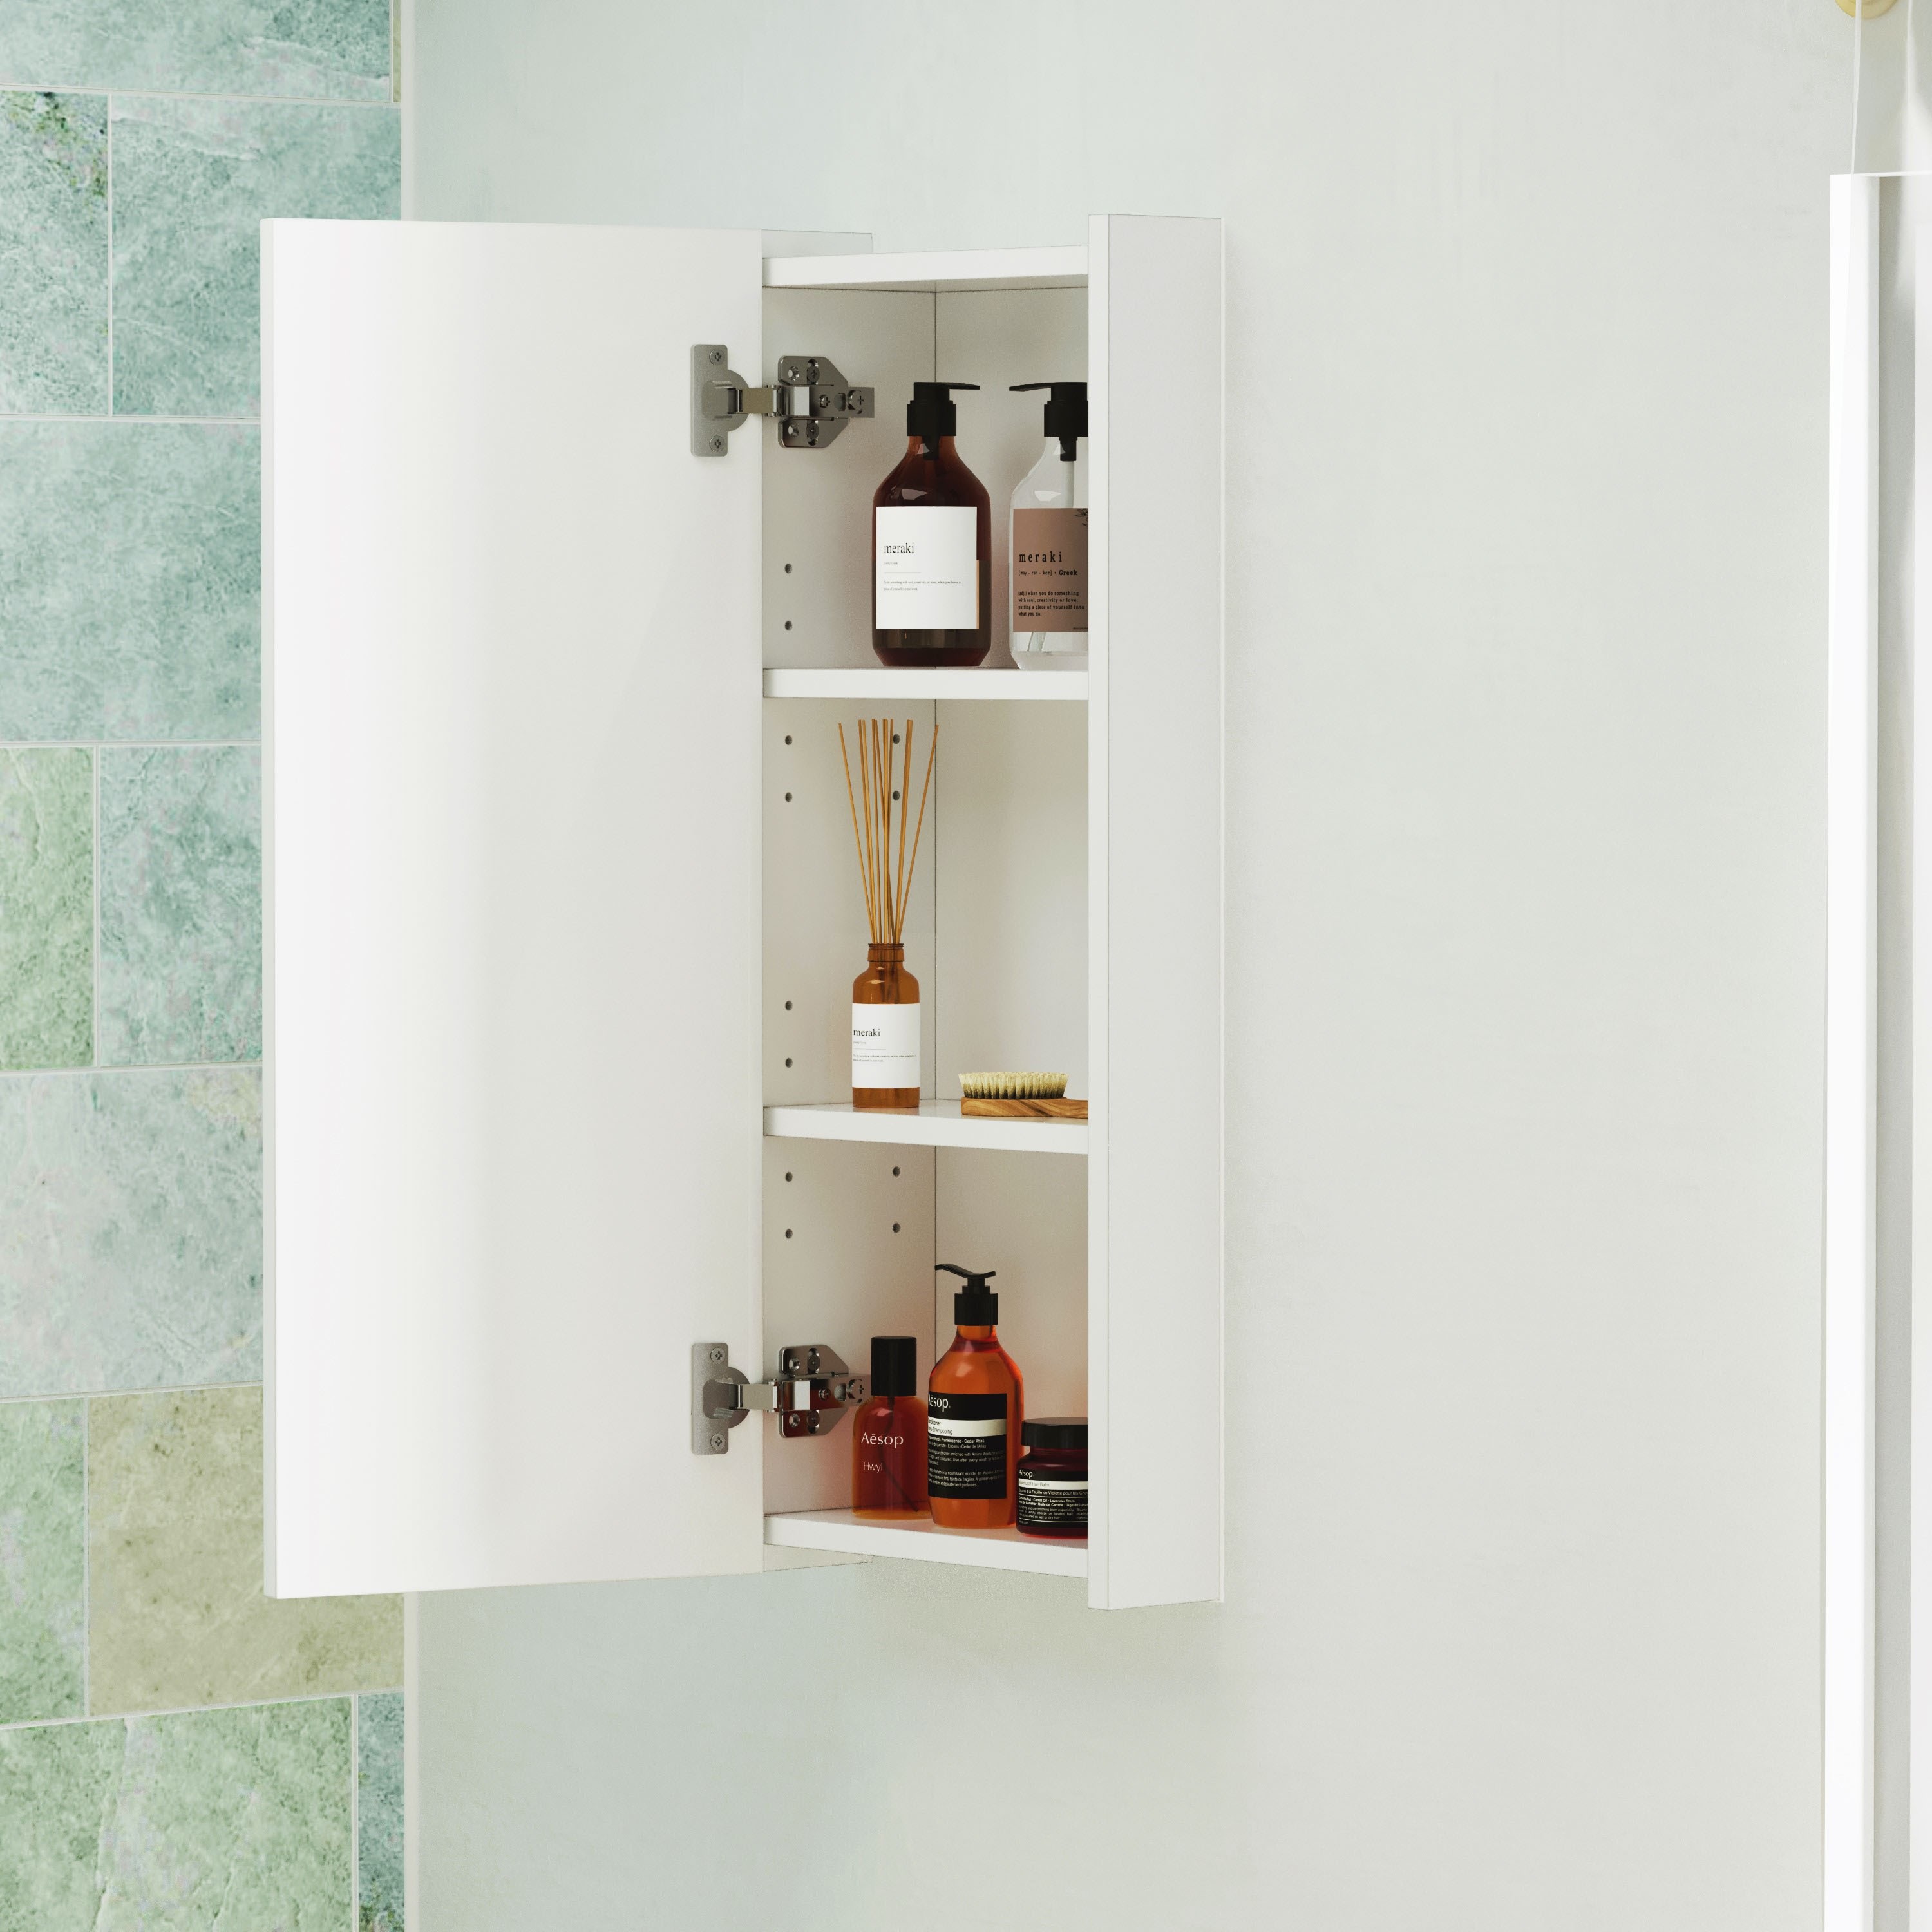
Bathroom drawings often show fixtures as rectangles.
People are not rectangles.
The room must work while:
someone opens the door;
another person stands at the vanity;
a drawer is pulled out;
a shower door opens;
someone bends toward the basin;
the toilet is being used;
towels are removed from a rail;
cleaning equipment is moved around the room.
This is where many seemingly acceptable layouts fail.
Check the active footprint
For each fixture, mark not only its physical size but also the space it requires during use.
For a vanity:
standing zone;
drawer opening;
cabinet-door opening;
plumbing access.
For a shower:
door swing;
entry route;
towel access;
cleaning access.
For a toilet:
user space;
side clearance;
access to the isolation valve;
lid and seat movement.
For a bath:
getting in and out;
cleaning around it;
mixer access.
The useful question is not:
“Does it physically fit?”
It is:
“Does it still work when someone is actually using it?”
5. Plan the Wet Area Before Choosing Finishes
Tiles are a finish.
They are not, by themselves, the waterproofing strategy.
BRANZ points out that cement-based grout is not waterproof, which is why the waterproofing membrane behind tiled wet areas must be applied correctly. Its current guidance also notes that relevant wet-area membranes need to meet Building Code durability requirements, including a minimum 15-year service life in the circumstances covered.
Waterproofing must coordinate with:
shower trays;
tiled showers;
wall niches;
mixers;
pipe penetrations;
bath surrounds;
vanities;
floor wastes.
Do not design the bathroom as a finished picture first and then ask the waterproofer to make everything work afterwards.
Penetrations are part of the design
Every penetration through a wet-area surface needs thought:
shower mixer;
rail fixing;
bath spout;
wall mixer;
plumbing outlet;
shower screen fixing;
niche;
floor waste.
The location of these elements should be confirmed before waterproofing and tiling begin.
6. Ventilation Should Be Planned Before the Ceiling Is Finished
Ventilation is often treated as the final item:
“We will put an extractor fan somewhere.”
That is not enough.
MBIE says active ventilation is essential in rooms where extra moisture is generated, including bathrooms, laundries and kitchens. It also says extractor fans should discharge outside rather than into the roof space.
For a typical bathroom or toilet, MBIE gives 25 litres per second as a general rule of thumb for ventilation rate. It also recommends keeping ducting short and avoiding sharp bends.
That number is useful, but fan performance should not be reduced to one airflow figure.
Actual effectiveness also depends on:
duct length;
duct diameter;
bends;
grille resistance;
external termination;
fan position;
replacement air entering the room.
A powerful fan connected to poor ductwork may still perform badly.
Replacement air matters
An extractor removes air.
Air must be able to enter the room to replace it.
MBIE notes that very airtight homes may need an open window or another source of replacement air for extractor fans to perform properly.
Before the renovation is finished, confirm:
fan model;
fan location;
duct route;
outdoor termination;
switching;
timer or control strategy;
replacement-air path.
Official guidance:
https://www.building.govt.nz/getting-started/smarter-homes-guides/air-quality-moisture-and-ventilation/active-ventilation
7. Treat the Vanity, Basin and Mixer as One System
A common renovation mistake is selecting these three products independently.
They should be checked together.
Record:
finished vanity height;
benchtop thickness;
basin type;
basin height;
basin depth;
basin projection;
mixer height;
spout reach;
water outlet position.
Above-counter basins change the geometry
A high vessel basin can make an otherwise standard vanity feel too tall.
It can also require a taller mixer.
But a taller mixer is not automatically the right mixer.
The spout must still project far enough into the basin so that the water lands in a sensible location.
Spout reach matters as much as mixer height
If the water lands too close to the rear wall of the basin, washing hands can feel cramped.
If it lands too close to the front, splash may increase.
Mixer selection should therefore consider:
Where does the water land relative to the basin shape?
not simply:
“Is the tap tall enough?”
Drawer geometry matters too
A beautiful three-drawer vanity may have little tolerance for:
floor wastes;
offset waste pipes;
bulky traps;
poorly positioned isolation valves.
Always compare the internal cabinet drawing with the actual plumbing layout.
8. Plan the Mirror and Mirror Cabinet in Side Elevation

Most homeowners compare mirrors from the front.
Width.
Height.
Shape.
Frame colour.
Mirror cabinets need another measurement:
projection from the wall.
A cabinet can align beautifully with the vanity in front elevation while feeling intrusive when someone leans toward the basin.
Check:
cabinet depth;
vanity depth;
basin projection;
user head position;
door swing;
shoulder clearance;
mixer height;
task lighting;
power entry;
removal path.
This becomes even more important with recessed mirror cabinets.
Before recessing a cabinet, confirm what is actually inside the wall:
framing;
plumbing;
cables;
insulation;
bracing.
Do not assume that a wall cavity is empty.
9. Decide Where Electrical Products Will Live
Modern bathrooms often contain more electrical products than older bathrooms did:
illuminated mirrors;
mirror demisters;
heated towel rails;
floor heating;
ventilation;
lighting;
smart toilets or bidet seats;
power outlets.
Electrical planning should therefore happen alongside the layout, not after tiling is complete.
WorkSafe says RCDs should be installed in damp areas such as bathrooms and that new domestic circuits supplying lighting or socket outlets require RCD protection.
Product location also matters because bathrooms contain electrical zones around water sources.
Do not position a power point based only on:
“The cord can reach.”
Ask a licensed electrical worker to assess the actual bathroom layout and product requirements.
WorkSafe guidance:
https://www.worksafe.govt.nz/managing-health-and-safety/consumers/safe-living-with-electricity/cords-and-leads/
10. Plan Maintenance Access Before Concealing Services
A newly renovated bathroom should not require destructive work to reach routine service components.
Before walls and cabinetry are closed, identify how someone will reach:
vanity trap;
isolation valves;
mixer cartridge;
LED driver;
in-wall cistern components;
bath waste;
shower waste.
The goal is not to make technical components visible.
The goal is to make them serviceable.
A removable vanity drawer, flush plate, cabinet panel or access from an adjacent room can allow a clean finish without sealing away future maintenance.
A useful question to ask every installer is:
“If this component fails in five or ten years, how will someone reach it?”
Take photographs of hidden services before the wall closes.
Save them with:
model numbers;
installation drawings;
invoices;
warranty information.
A bathroom is easier to maintain when both the component and its identity remain accessible.
11. Check the Installation Sequence Before Ordering Products
Bathrooms involve several trades whose work overlaps.
A typical project may involve:
demolition;
builder or carpenter;
plumber;
drainlayer;
electrician;
waterproofer;
tiler;
painter;
cabinet installer;
glazier;
final plumbing and electrical fit-off.
The exact sequence varies, but the key principle does not:
Later work depends on earlier dimensions being correct.
For example:
A wall-mounted basin mixer cannot be positioned accurately if the final vanity and basin geometry is unknown.
A recessed mirror cabinet cannot be framed correctly if the product dimensions are undecided.
A shower screen cannot be measured accurately before the tiled surfaces are complete.
A vanity plumbing rough-in should not be finalised without understanding the cabinet’s internal drawer layout.
Products with installation-critical dimensions should therefore be selected early enough to inform rough-in work, even if they are physically installed much later.
12. Do Not Order Everything at the Same Stage
“Choose early” does not mean “buy everything immediately”.
Separate products into three groups.
Group A — Products That Affect Rough-In
These should usually be resolved early:
vanity;
basin;
wall-mounted mixer;
concealed shower mixer;
shower waste;
in-wall cistern;
recessed mirror cabinet;
bath and bath mixer where connections are installation-sensitive.
Group B — Products That Depend on Finished Dimensions
These may need confirmation later:
custom shower glass;
some mirrors;
shelving;
trim pieces.
Group C — Flexible Accessories
These can usually wait:
towel hooks;
toilet-roll holders;
small shelves;
freestanding accessories.
This reduces the risk of storing large quantities of finished product onsite while still giving installers the information they need.
13. Representative Scenario: The Vanity Chosen Too Early
A homeowner purchases a 900 mm three-drawer vanity during a sale.
It fits the available wall perfectly.
After the old cabinet is removed, the plumber finds:
the waste comes through the floor;
the new vanity is designed around a central wall-entry plumbing zone;
the bottom drawer occupies the floor-waste area;
the existing isolation valves sit outside the internal service cut-out.
The vanity is not technically the wrong size.
The wall measurement was correct.
The problem is that only the external width was checked.
Better planning
Before purchase, the homeowner should have recorded:
waste location;
hot and cold supply positions;
wall or floor entry;
vanity internal drawing;
drawer configuration.
The correct purchasing question would have been:
“Does this vanity fit both the room and the existing services?”
14. Representative Scenario: The Shower That Created a Ventilation Problem
A bathroom is redesigned with a large walk-in shower at the far end of the room.
The ceiling fan remains near the entrance because that was the easiest location for the duct route.
The shower generates moisture at one end, while extraction occurs well away from the source.
The new bathroom looks more modern, but the ventilation strategy was not redesigned with the new layout.
MBIE recommends positioning extractor fans as close to the moisture source as possible and keeping ducting short and direct.
The lesson is simple:
When the wet zone moves, reconsider the ventilation—not just the tiles.
15. Pre-Purchase Bathroom Renovation Checklist
Room
□ Finished room dimensions recorded
□ Door swing checked
□ Windows measured
□ Wall projections recorded
□ Floor levels checked
□ Delivery route considered
Plumbing
□ Existing waste positions photographed
□ Hot and cold supplies recorded
□ Floor-entry vs wall-entry waste confirmed
□ Toilet position confirmed
□ Proposed changes reviewed by an authorised plumber
□ Building Consent implications checked where necessary
Vanity
□ Overall width fits
□ Depth works with circulation
□ Drawers can open fully
□ Internal plumbing zone suits pipework
□ Basin type confirmed
□ Finished basin height considered
Mixer
□ Mixer type confirmed
□ Spout height suits basin
□ Spout reach suits basin
□ Wall-mixer rough-in confirmed before lining
Shower
□ Shower footprint confirmed
□ Entry route works
□ Door or panel does not obstruct circulation
□ Waste position confirmed
□ Mixer location confirmed
□ Waterproofing strategy coordinated
Bath
□ Bath dimensions fit
□ Cleaning access considered
□ Waste access planned
□ Mixer location works
□ Delivery route checked
Mirror
□ Width confirmed
□ Height confirmed
□ Cabinet projection checked
□ Door swing checked
□ Wall cavity checked if recessed
□ Power requirements confirmed
Ventilation
□ Fan selected
□ Duct route confirmed
□ Air discharges outside
□ Fan positioned near moisture source
□ Replacement-air path considered
Electrical
□ Lighting positions planned
□ Mirror or demister supply planned
□ Heated towel rail supply planned
□ Floor heating resolved if required
□ Socket locations assessed
□ RCD protection confirmed
Maintenance
□ Trap accessible
□ Isolation valves accessible
□ LED driver location recorded
□ Cistern service route maintained
□ Shower waste cleanable
□ Hidden-service photos saved
Final Advice
The most expensive renovation problem is often not a faulty product.
It is a conflict discovered too late.
A vanity that needs the waste moved after the walls are finished.
A wall mixer set out before the basin is chosen.
A recessed mirror cabinet arriving after the wall has been framed.
A ventilation duct with nowhere practical to go.
A shower screen measured before finished surfaces are complete.
A bathroom renovation becomes easier when decisions are made in dependency order:
Room → services → waterproofing → product geometry → rough-in → finishes → fit-off
rather than:
Products → products → products → try to make the room fit them.
The final design can still be beautiful.
But beauty works better when the hidden systems have already been resolved.
The best bathroom renovation is not the one with the most impressive products. It is the one in which the room, services and products have been planned to work together before the walls are closed.
Sources and Further Reading
MBIE — Active Ventilation
https://www.building.govt.nz/getting-started/smarter-homes-guides/air-quality-moisture-and-ventilation/active-ventilation
BRANZ — Wet Area Liquid Membrane Thickness
https://www.branz.co.nz/design-build/articles/wet-area-liquid-membrane-thickness-2
WorkSafe New Zealand — Cords, Plugs and RCDs
https://www.worksafe.govt.nz/managing-health-and-safety/consumers/safe-living-with-electricity/cords-and-leads/