Why Your New Vanity Drawers May Not Fit Your Existing Plumbing
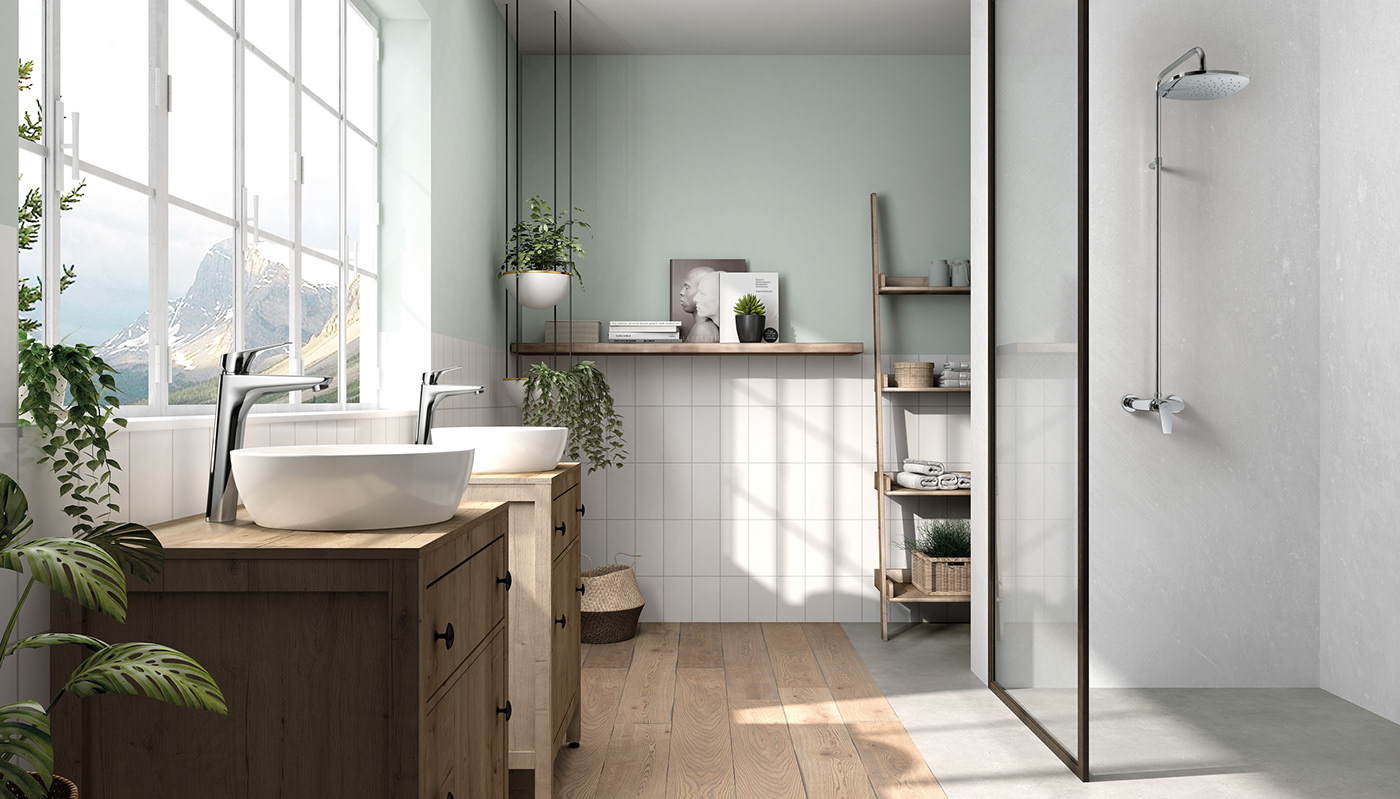
A new bathroom vanity can be exactly the same width as the old one and still require plumbing changes.
This surprises many homeowners.
The old vanity might be 900 mm wide.
The new vanity is also 900 mm wide.
The basin is in roughly the same position.
Nothing is being moved across the room.
So it seems reasonable to assume that the plumber can remove one cabinet and connect the other.
Then the new vanity arrives.
The plumber opens the drawers and finds that the existing waste pipe passes directly through the space occupied by the top drawer.
Or the waste comes up through the floor where the bottom drawer needs to travel.
Or the hot and cold isolation valves sit exactly behind a drawer runner.
Or the trap fits—but only if half of the storage space is cut away.
Nothing is wrong with the vanity.
Nothing is necessarily wrong with the existing plumbing.
The problem is that the two were designed around different internal geometries.
When replacing an older cupboard vanity with a modern drawer vanity, the critical measurement is often not the cabinet width. It is the space left inside the cabinet for plumbing.
That space can be surprisingly small.
Why This Problem Has Become More Common
Older bathroom vanities were often mechanically simple.
Behind two hinged doors there might be one large open cavity.
The plumber had considerable freedom.
A waste pipe could enter:
through the floor;
through the rear wall;
slightly left of centre;
slightly right of centre.
Isolation valves could sit at different heights.
The trap could occupy a large portion of the cabinet.
It might not look particularly neat, but it worked because almost the entire interior was available for plumbing.
Modern vanities increasingly use drawers.
That changes everything.
A drawer occupies a three-dimensional box.
It needs space:
from front to back;
from side to side;
throughout its opening path.
Plumbing can no longer simply occupy whatever part of the cabinet happens to be convenient.
The plumbing and furniture must now share the same volume.
The External Dimension Tells You Almost Nothing About This Conflict
Suppose the old vanity is:
900 mm wide × 460 mm deep
and the replacement is:
900 mm wide × 460 mm deep
From the room-planning perspective, they appear interchangeable.
But look inside.
Old vanity
Two doors.
One shelf.
Large open service cavity.
New vanity
Two full-width drawers.
Upper drawer has a central cut-out.
Lower drawer extends almost to the back panel.
The two cabinets may occupy exactly the same floor area while offering completely different plumbing space.
This is why:
“It is the same size as my existing vanity” is not enough information to confirm compatibility.
1. The Trap Is Usually the Largest Conflict
Under a basin, the waste does not normally run as a thin straight pipe directly into the wall.
There needs to be a trap arrangement.
Its function is important: the water seal helps prevent foul air from the drainage system entering the room.
That trap has physical depth.
It occupies space below the basin.
In a traditional cupboard vanity, this may not matter much.
In a drawer vanity, the trap can occupy exactly the same space needed by the upper drawer.
Manufacturers deal with this in several ways.
You may see:
U-shaped drawers;
shortened drawers;
central drawer cut-outs;
rear service voids;
shallow upper drawers.
These are not merely furniture-design details.
They are plumbing accommodation strategies.
2. A U-Shaped Drawer Does Not Mean “Any Plumbing Will Fit”
This is an important misconception.
People see a U-shaped cut-out and assume:
“The plumbing goes through the middle, so it will be fine.”
Maybe.
But the actual trap may not sit in the centre.
The waste may be offset.
The isolation valves may occupy the side of the cut-out.
The trap may project further forward than the opening allows.
The waste pipe may enter lower than the U-shaped recess.
So you need to compare two things:
the plumbing envelope
and
the vanity service envelope.
If those two shapes do not overlap correctly, modification is required.
3. Wall Waste and Floor Waste Behave Very Differently
This is probably the most important first distinction.
Stand in front of the existing vanity and open it.
Look at where the waste disappears.
Does it go:
through the rear wall
or
through the cabinet floor?
That single detail can strongly affect which vanity works easily.
Wall-Entry Waste
With a wall-entry waste, the pipe enters through the back of the cabinet.
This can work well with modern drawer vanities because the trap can often remain within a designed central service zone.
But position still matters.
Imagine the new vanity provides a plumbing opening approximately around the central section.
Your existing waste is:
120 mm left of centre.
It may now sit behind:
a drawer box;
drawer runner;
cabinet partition.
Being “in the wall” does not automatically make it compatible.
Floor-Entry Waste
Floor-entry waste can create much more obvious conflicts with drawers.
The pipe may rise vertically through:
the cabinet base;
lower drawer path;
bottom shelf.
An older cupboard vanity could simply be drilled around the pipe.
A full-depth lower drawer cannot move through a waste pipe.
That creates several possible outcomes:
alter the plumbing;
modify the drawer;
modify the cabinet;
choose a different vanity.
The right solution depends on the actual site.
4. Why Plumbers Sometimes Cut the New Vanity
Homeowners are understandably unhappy when a newly purchased cabinet is cut during installation.
Sometimes the workmanship is poor.
But sometimes cutting the cabinet is the only practical way to accommodate existing plumbing without relocating the service.
The key distinction is:
Was the modification planned, or discovered after installation began?
A planned cut-out can be:
accurately located;
neatly finished;
sealed where appropriate;
positioned to minimise storage loss.
An improvised cut made after the vanity is already installed can become:
oversized;
rough;
difficult to seal;
unnecessarily destructive.
This is why the important conversation happens before delivery and installation, not while the plumber is holding a holesaw.
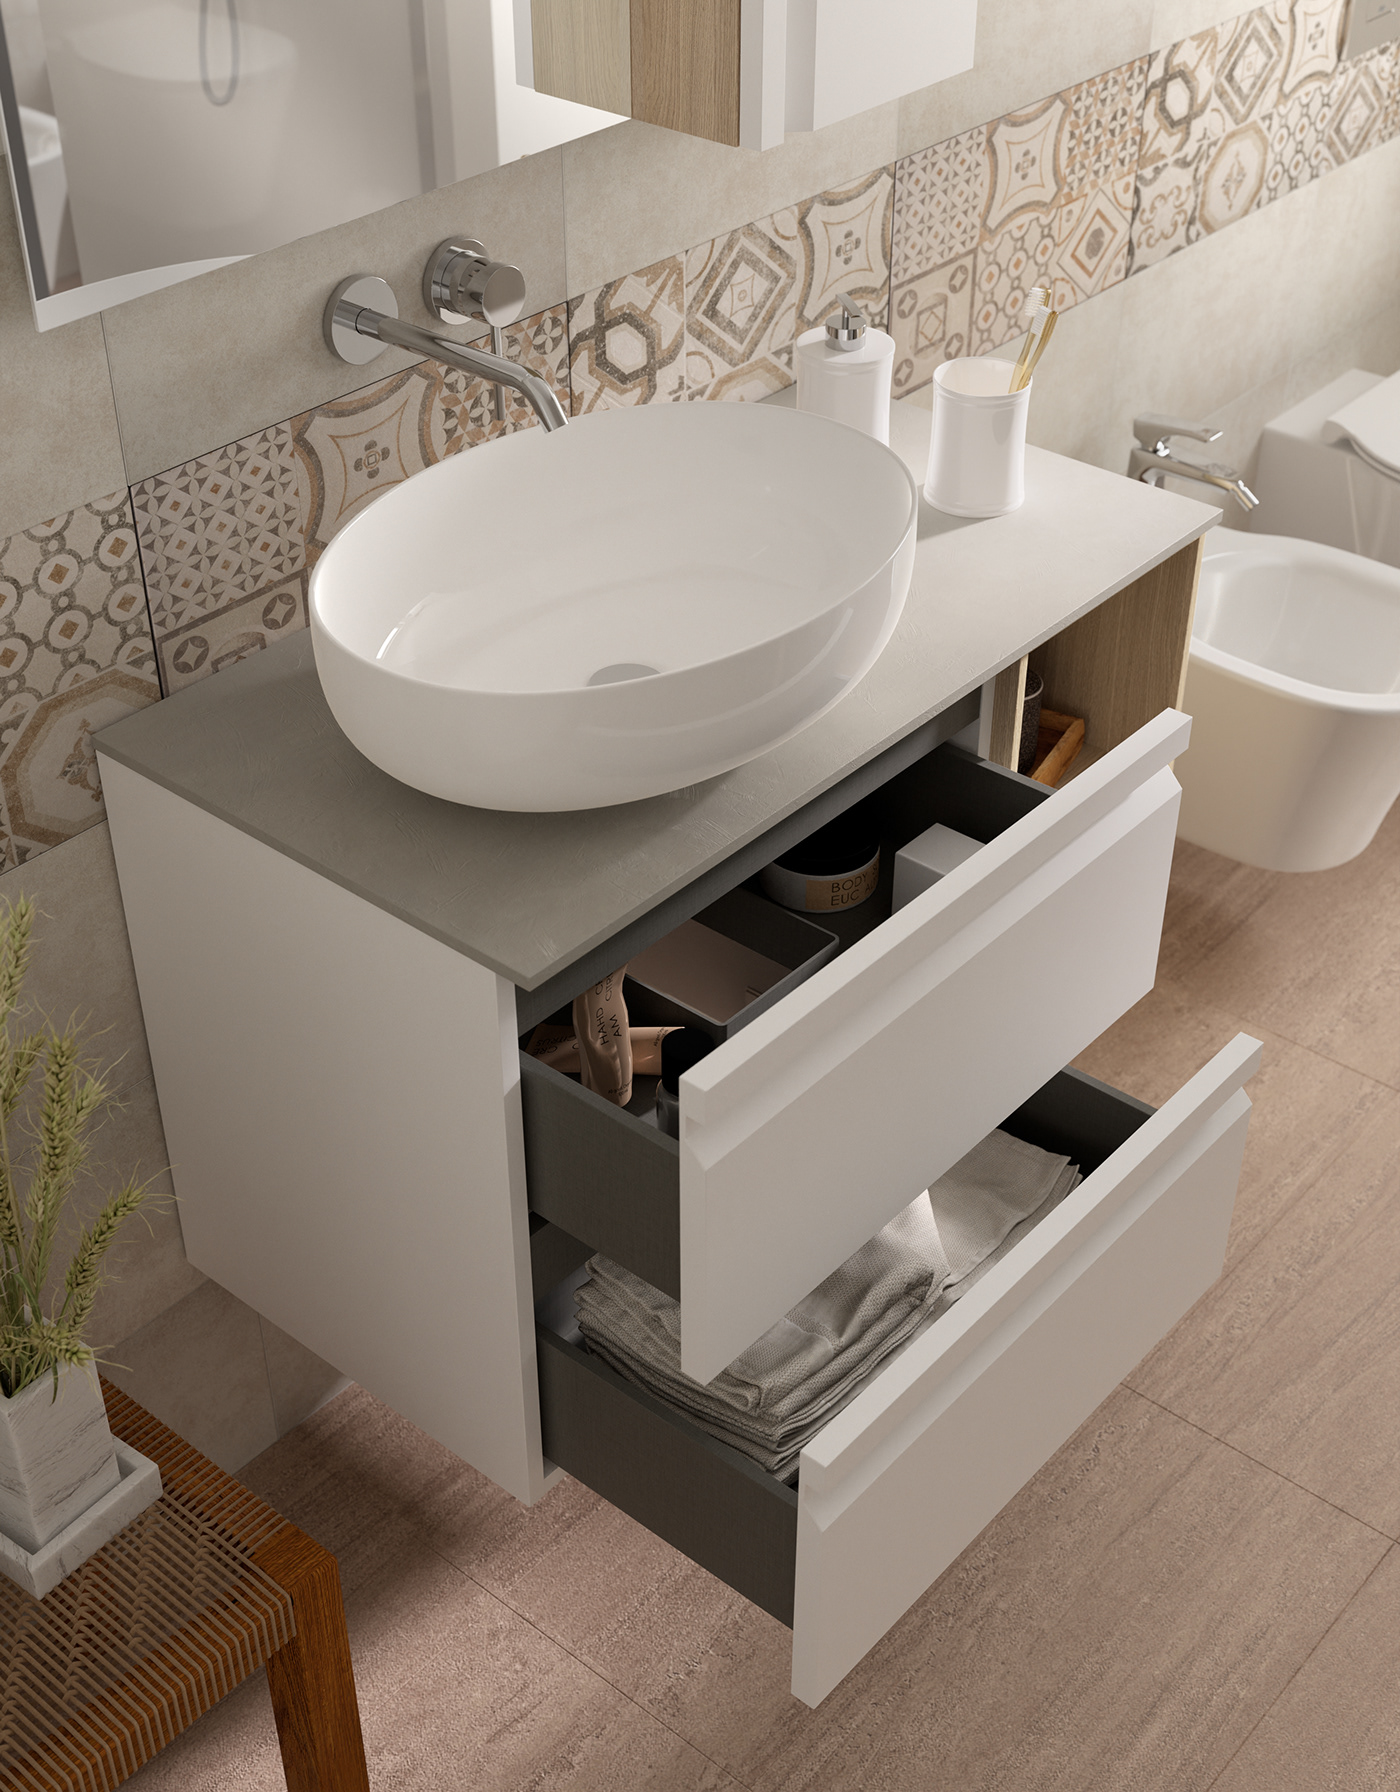
5. The Waste Centreline Is More Useful Than “The Pipe Is in the Middle”
Homeowners often describe their plumbing as:
“roughly centred.”
That is not precise enough.
Instead, measure from a fixed reference.
For example:
left finished wall → waste centreline
Suppose:
wall opening available for vanity = 920 mm;
vanity width = 900 mm;
vanity installed 10 mm from left wall;
existing waste centreline = 390 mm from left wall.
Relative to the vanity:
390 − 10 = 380 mm
The centre of the vanity is:
450 mm
So the waste is actually:
70 mm left of vanity centre.
Now compare that with the manufacturer's plumbing cut-out.
That is much more useful than saying:
“It looks pretty central.”
6. Measure the Height Too
Horizontal position is only half the problem.
You also need the waste height.
Measure:
finished floor → centre of wall waste
Why?
Because the rear of a drawer does not occupy the entire cabinet height equally.
A waste positioned at one height may pass neatly through a service void.
Move it 60 mm lower and it may pass through the drawer box.
Move it higher and the trap may conflict with the underside of the basin.
This is a three-dimensional problem.
You need:
X position;
Y position;
depth.
7. The Basin Waste Position Changes the Trap Position
Another common assumption is:
“The vanity waste is centred, so the plumbing should be centred.”
Not necessarily.
The trap starts from the basin waste.
That location depends on the basin.
For an integrated basin, the waste position may be predetermined.
For an above-counter basin, its location depends partly on where the installer places the basin on the benchtop.
For an offset basin, the waste may be significantly away from the cabinet centreline.
So before determining the plumbing route, you need to know:
basin position;
basin waste centre;
wall/floor waste position.
The trap is the geometry connecting them.
8. Double Vanities Multiply the Problem
A double vanity introduces another layer.
Now you have:
two basin wastes;
two traps;
potentially two sets of supply connections;
internal cabinet dividers;
multiple drawer boxes.
A 1500 mm vanity does not simply provide one large 1500 mm service cavity.
Internally it may be divided into:
left drawer bank;
centre structure;
right drawer bank.
A waste pipe located only 80 mm away from the intended basin position may suddenly sit behind a partition.
This is why double-vanity rough-in should ideally be coordinated using the actual product drawing before the wall is closed.
Recent renovation discussions show exactly this kind of mistake: wall-mounted tapware or plumbing is set out using an assumed vanity reference, then the final vanity arrives and the outlet no longer aligns with the basin.
9. Isolation Valves Cause Their Own Conflicts
Waste pipes get most of the attention.
But hot and cold supply positions can be equally troublesome.
Older installations can have valves that are:
at different heights;
widely spaced;
heavily projecting;
offset from centre.
That was not necessarily a problem inside an open cabinet.
Inside a drawer vanity, an isolation valve may land directly behind:
drawer side;
drawer runner;
rear panel.
A recent bathroom-remodelling discussion describes exactly this problem: the existing vanity had a completely open rear cavity, while the owner was concerned that irregularly positioned shut-off valves would interfere with a new drawer-based vanity.
That is a very real pre-purchase check.
10. Valve Accessibility Matters After Installation
There is another question beyond whether the valves physically fit:
Can you still reach them?
An isolation valve exists so water can be shut off.
If the installer manages to squeeze it behind a drawer but the drawer cannot easily be removed, the connection may technically fit while remaining poor for future servicing.
Check whether:
drawers release without tools;
valves are visible;
valve handles can turn;
flexible hoses can be inspected;
connections can be replaced.
A neat vanity should not turn basic maintenance into cabinet demolition.
11. The Basin Itself Can Steal Plumbing Space
Not all basin types use the cabinet interior equally.
Integrated basin top
Much of the basin can project downward into the cabinet.
Inset basin
The bowl may extend substantially below the benchtop.
Above-counter basin
More of the bowl remains above the benchtop, potentially leaving greater space below—but the waste still passes through the top.
This matters because a deep inset basin plus trap may consume much more vertical cabinet space than expected.
A technical drawing should show the underside geometry.
Do not assess only the visible part of the basin.
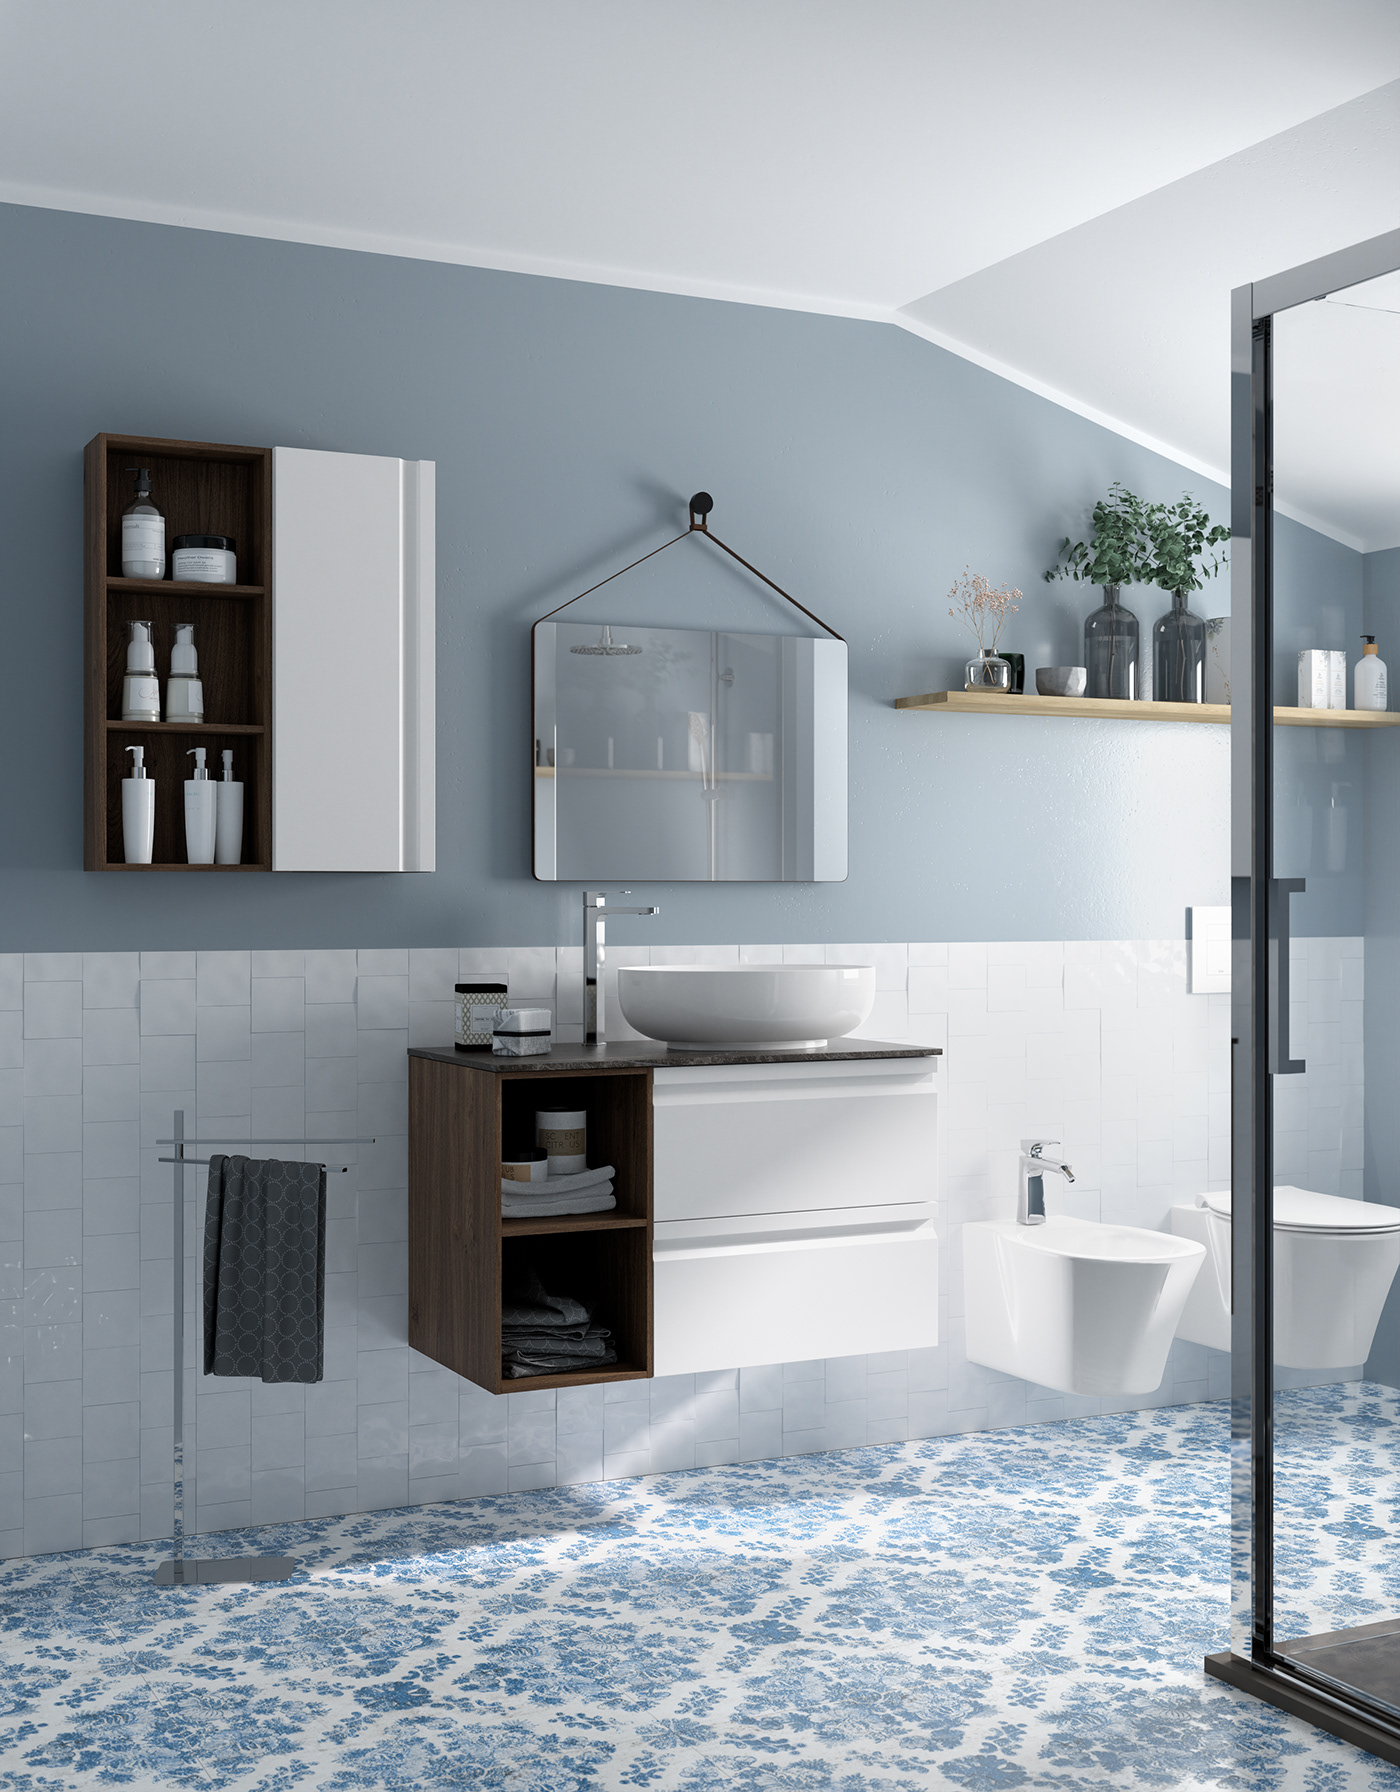
12. Why a Shallow Drawer Can Make a Big Difference
Imagine two upper drawers.
Drawer A depth:
380 mm
Drawer B depth:
300 mm
From outside, both vanities look almost identical.
But Drawer B leaves:
80 mm more rear service space.
That can be the difference between:
clean plumbing behind the drawer;
and
cutting the drawer.
This is why buyers comparing storage should not automatically prefer the deepest drawer.
Some “lost” drawer depth may actually be intentionally reserved for:
trap;
valves;
hoses;
service access.
That space is not necessarily wasted.
It may be what makes the cabinet installable.
13. Draw the Plumbing as a Box, Not a Line
A very useful planning technique is to stop drawing plumbing as thin lines.
A technical plan may show:
○ waste
But a real installation includes:
pipe diameter;
trap body;
fittings;
unions;
hose loops;
valve handles;
working space.
Instead, imagine a three-dimensional service box behind and below the basin.
For example:
300 mm wide × 200 mm deep × 300 mm high
The exact dimensions vary enormously.
The point is conceptual.
Ask:
Does the vanity leave enough uninterrupted space for the whole plumbing assembly—not just the pipe centreline?
That is a far better compatibility test.
14. One Measurement That Should Be Taken Before Demolition
Before removing the old vanity, photograph the open cabinet with a tape measure visible.
Record:
Horizontal
left wall → waste centre;
left wall → hot supply;
left wall → cold supply.
Vertical
floor → waste centre;
floor → each valve.
Projection
how far valves project from wall;
how far trap projects forward.
This creates a basic plumbing map.
After demolition, verify those measurements again.
The second set will be more accurate because the cabinet is no longer hiding the wall and floor junctions.
15. Finished Wall Position Matters
Suppose the room is being retiled.
The plumber measures the waste from the existing framing.
Then the wall receives:
lining;
waterproofing;
adhesive;
tile.
The finished surface moves forward.
That may only be a modest amount, but tight vanity plumbing is sensitive to relatively small dimensional changes.
Measurements used to set out cabinetry should be referenced to the finished surface where appropriate, not loosely remembered from framing stage.
The same principle applies horizontally if walls are being:
straightened;
relined;
tiled.
16. Why “We'll Just Move the Pipe” Is Not Always a Small Job
Moving a visible section of pipe inside a cabinet may be straightforward.
Moving the actual sanitary plumbing route may not be.
It can involve:
opening the wall;
cutting flooring;
changing fittings;
altering drainage;
making good finishes.
And in New Zealand, sanitary plumbing is regulated work.
MBIE's current guidance states that alterations to existing sanitary plumbing under the Building Act Schedule 1 exemption must be carried out by an authorised plumber. The exemption applies where, among other conditions, the total number of sanitary fixtures is not increased and specified systems are not affected.
So:
“No Building Consent required” does not mean “anyone can alter the plumbing.”
For some drainage alterations, authorised drainlayers are also required.
17. Is Moving the Waste Worth It?
Sometimes yes.
This is where renovation planning needs judgement.
Suppose the new vanity costs significantly more than a basic cupboard unit because it offers:
three full drawers;
organised storage;
clean interior;
better everyday access.
If the existing waste destroys two-thirds of that storage, paying to relocate the plumbing during a full renovation may be sensible.
But if:
tiles are already finished;
walls are closed;
floor access is difficult;
the same plumbing change may now be disproportionate.
This leads to an important rule:
The cheapest moment to resolve vanity plumbing is usually before the finished surfaces are completed.
Not after the vanity arrives.
18. Do Not Let the Cabinet Maker Guess the Plumbing
For custom cabinetry, give the cabinet maker an actual service drawing.
Not:
“The plumbing is somewhere in the middle.”
Provide:
basin waste centreline;
wall waste centreline;
waste height;
hot valve centre;
cold valve centre;
valve height;
expected trap zone.
Then the cabinet maker can design:
drawer cut-out;
shortened drawer;
rear void;
removable panel.
Custom cabinetry is most valuable when it is customised around the real services.
19. Do Not Let the Plumber Guess the Vanity Either
The reverse problem is just as common.
The plumber roughs in the services before the vanity is chosen.
They use a “normal” position.
Then the vanity arrives with:
unusual drawer cut-outs;
offset basin;
internal divider;
shallow service zone.
Neither trade has necessarily made an unreasonable decision.
The coordination step was missing.
The plumber should ideally receive:
vanity technical drawing;
basin drawing;
tap location;
drawer/service layout.
That can remove much of the guesswork.
20. Representative Scenario: Same Width, Completely Different Installation
Consider a renovation replacing an old 900 mm vanity.
Existing cabinet
900 mm wide
Two doors
Open interior
Floor-entry waste
Offset isolation valves
New cabinet
900 mm wide
Two full-width drawers
Central U-shaped top drawer
Full-depth lower drawer
The homeowner assumes this is a simple replacement.
The vanity arrives.
The floor waste rises approximately 100 mm left of centre.
It passes through the travel path of the lower drawer.
The upper drawer cut-out is irrelevant because the conflict happens below it.
There are now three realistic choices:
Option A — Alter the plumbing
Potentially preserves full cabinet function.
Option B — Modify the drawer
Cheaper in some situations, but loses storage and may affect warranty or cabinet integrity.
Option C — Choose another vanity
A cabinet with a rear service void or doors may suit the existing plumbing better.
The important point:
The decision should ideally have been made before the cabinet was ordered.
21. Representative Scenario: Everything Fits Until the Drawer Closes
A wall-entry waste is centrally positioned.
The installer connects the trap successfully.
The cabinet looks excellent.
Then the top drawer is inserted.
It closes almost completely but hits the trap by 15 mm.
This illustrates why checking the visible plumbing opening alone is not enough.
The question is not:
“Can the plumber connect the pipe?”
It is:
“Can the plumbing remain inside the cabinet while every drawer moves through its full travel?”
That must be tested with the drawer installed.
22. How Much Plumbing Space Do You Need?
There is no universal number.
This is important.
Do not trust an article that says:
“Always leave 200 mm behind a vanity drawer.”
Different systems use different:
traps;
basins;
pipe sizes;
cabinet depths;
drawer mechanisms.
The correct method is to compare:
actual product drawing + actual service position.
That answer is less convenient than a universal number.
It is also much more reliable.
23. A Useful Compatibility Test Before Buying
You can reduce the problem to three drawings.
Drawing 1 — Front Elevation
Show:
vanity width;
basin centre;
waste centre;
hot supply;
cold supply;
internal partitions.
This reveals horizontal conflicts.
Drawing 2 — Side Section
Show:
vanity depth;
basin depth below top;
trap projection;
drawer depth;
rear service void.
This reveals depth conflicts.
Drawing 3 — Vertical Section
Show:
waste height;
valve height;
upper drawer;
lower drawer.
This reveals height conflicts.
If all three work, compatibility is much more likely.
A front elevation alone is not enough.
24. Five Questions to Ask the Vanity Seller
Before ordering a drawer vanity, ask:
1. Can I see the internal dimensions or technical drawing?
Not just external dimensions.
2. What area is reserved for plumbing?
Especially behind upper and lower drawers.
3. Are the drawers removable?
Important for installation and servicing.
4. Can the cabinet accommodate floor-entry plumbing?
Do not assume.
5. What modifications affect the warranty?
Cutting panels or drawers may matter.
These questions are much more useful than simply asking:
“Will this fit a 900 mm space?”
25. Five Measurements to Give the Plumber
Before rough-in, provide:
1. Vanity finished width
2. Vanity finished height
3. Basin waste position
4. Internal plumbing zone
5. Finished wall position
If the product has an installation drawing, give the plumber the actual drawing.
Do not translate it verbally.
26. When Should You Keep the Existing Plumbing?
Keeping existing services can make sense when:
the location works;
the vanity is designed around it;
alteration adds unnecessary cost;
finished surfaces would need significant disturbance.
It should not become a rule.
27. When Should You Consider Moving It?
During a full renovation, relocation may be worth discussing when the existing service position:
destroys major drawer storage;
makes valves inaccessible;
forces crude cabinet cutting;
prevents the chosen basin layout;
produces poor maintenance access.
The correct person to assess the plumbing implications is the authorised trade carrying out the work.
28. The Bigger Lesson: A Vanity Is Part Furniture, Part Service Cabinet
This is the conceptual mistake behind many of these problems.
We shop for vanities as furniture.
We compare:
colour;
drawer fronts;
handles;
width;
benchtop;
style.
But the back half of the vanity has another job.
It is a service cabinet containing:
potable-water connections;
isolation;
basin waste;
trap;
sometimes electrical components.
That means a good vanity must succeed in two completely different roles:
front: storage and appearance
back: plumbing and service access
A cabinet that performs only the first role may look excellent in a showroom and become frustrating on site.
Before You Order: The Vanity Plumbing Check
Take these measurements from the finished wall and floor references wherever possible.
Waste
□ Wall or floor entry identified
□ Waste centreline measured horizontally
□ Waste centreline measured vertically
□ Trap projection considered
Water
□ Hot supply location measured
□ Cold supply location measured
□ Valve projection checked
□ Valve handles remain accessible
Vanity
□ Internal drawing obtained
□ Upper drawer depth checked
□ Lower drawer depth checked
□ Plumbing cut-out measured
□ Internal divider locations checked
□ Rear service space checked
Basin
□ Basin centreline confirmed
□ Waste centre confirmed
□ Basin underside depth checked
Maintenance
□ Drawers can be removed
□ Trap can be reached
□ Isolation valves can be operated
□ Flexible hoses can be inspected
If those questions have not been answered, you do not yet know whether the vanity fits.
You only know that its outside dimensions fit.
Final Takeaway
The difficult part of replacing a bathroom vanity is often hidden inside the cabinet.
A 900 mm vanity does not replace another 900 mm vanity simply because their widths match.
One may contain almost nothing behind its doors.
The other may contain two drawers occupying nearly the entire internal volume.
That turns previously harmless plumbing positions into physical conflicts.
The best way to avoid the problem is straightforward:
Measure the existing services before buying the vanity, and inspect the vanity's internal geometry before asking the plumber to rough in the services.
Do not ask only:
“Will this vanity fit the wall?”
Ask:
“Will the plumbing fit the vanity?”
That second question is responsible for far more renovation surprises than most product photographs suggest.
Sources and Further Reading
MBIE — Alteration to Existing Sanitary Plumbing
Explains when certain alterations may be exempt from Building Consent and confirms that qualifying sanitary-plumbing work must be undertaken by an authorised person.
MBIE — Minor Alteration to Drains
Covers certain minor drainage alterations and the requirement for an authorised drainlayer.